Getting Started with EZY Integrations
EZY Integrations moves data between systems by combining three building blocks: connection profiles (the credentials for each system), mapping configurations (the field-level rules for transforming data), and jobs (instances that link a source profile to a target profile and run the pipeline). This guide walks you through the complete setup from a fresh tenant to a running job.
User journey overview
Section titled “User journey overview”flowchart LR
A[Meet prerequisites] --> B[Create credentials]
B --> C[Choose connector]
C --> D[Author mapping]
D --> E[Create job]
E --> F[Run ad-hoc]
F --> G[Review results]
G --> H[Schedule recurring runs]
H --> I[Monitor and troubleshoot]
Step 1 — Meet tenant and workspace prerequisites
Section titled “Step 1 — Meet tenant and workspace prerequisites”Before you configure anything, make sure your tenant is provisioned and your user account has the necessary access. If you are setting up EZY Integrations for the first time, work through the Tenant Onboarding checklist first.
You will also need:
- Administrator or Integration Manager role within the tenant.
- Access credentials for every source and target system you plan to connect (for example, a Shopify Custom App client ID and secret, or an SAP Business One database login and Service Layer URL).
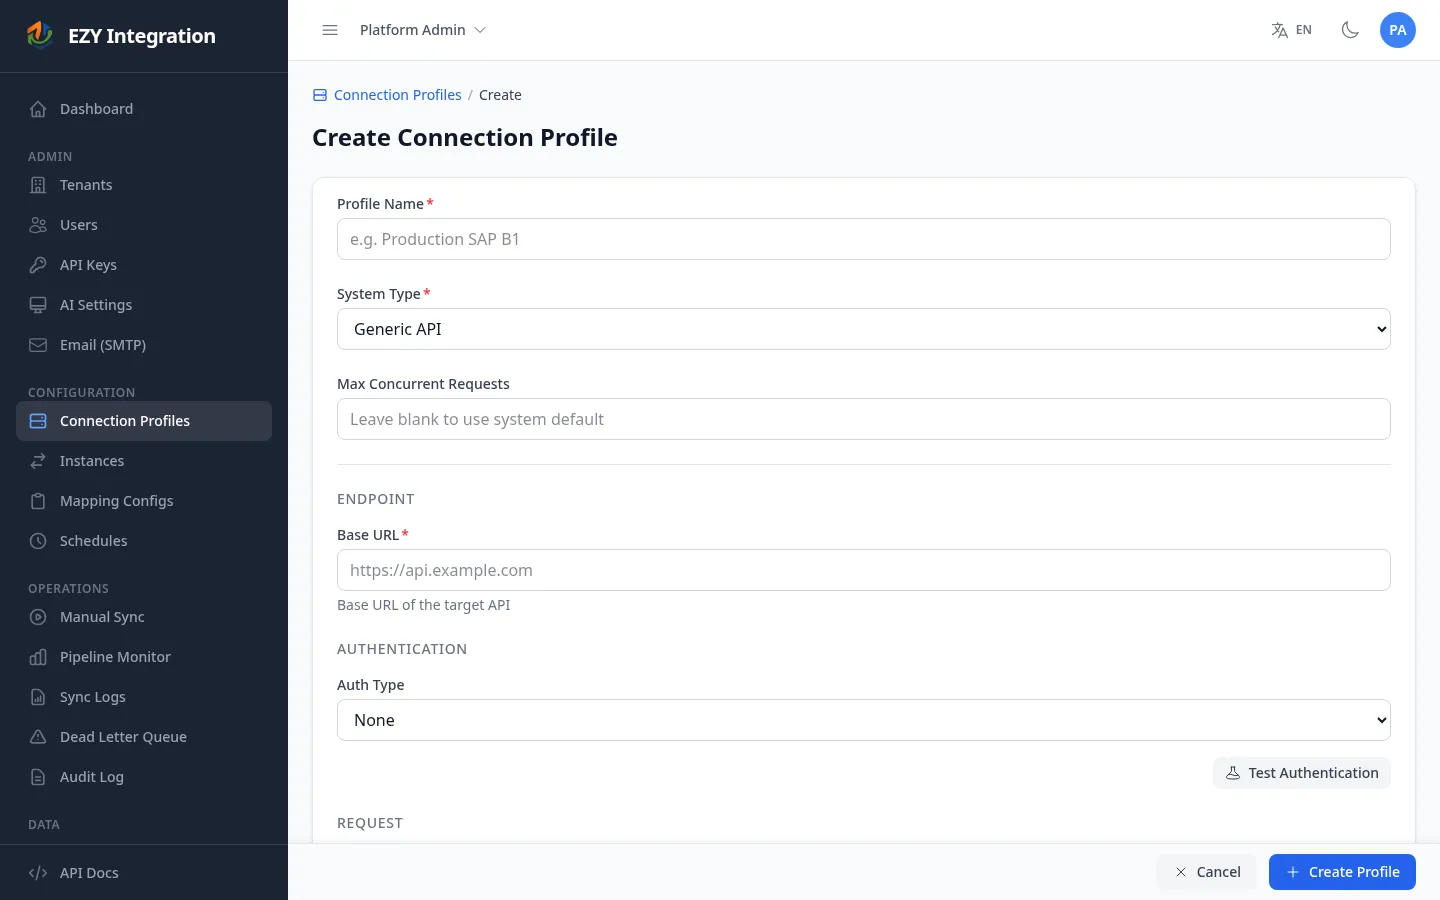
Step 2 — Create connection profiles
Section titled “Step 2 — Create connection profiles”A connection profile stores the credentials for one system. You need at least one profile for the source system and one for the target system.
- In the left navigation, open Connection Profiles.
- Click New Profile.
- Enter a descriptive name (for example,
My Shopify StoreorPortal Production). - Select the System type that matches your system.
- Fill in the credential fields. The fields shown depend on the system type you chose — refer to the connector page for field descriptions:
- Click Save.
- Use the Test Connection button to verify the credentials are correct before continuing.
For more detail on how credentials are stored and protected, see Credentials and Secrets.
Step 3 — Choose a connector
Section titled “Step 3 — Choose a connector”The connector determines which system you are connecting to and what entity types it supports. If you are unsure which connector to use, start with the Connectors overview for a side-by-side comparison of supported systems, directions, and entity types.
For a new integration, you will need to understand:
- Whether your system acts as a source (data comes from it), a target (data goes into it), or both.
- Which entity types you want to sync (for example, items, business partners, orders).
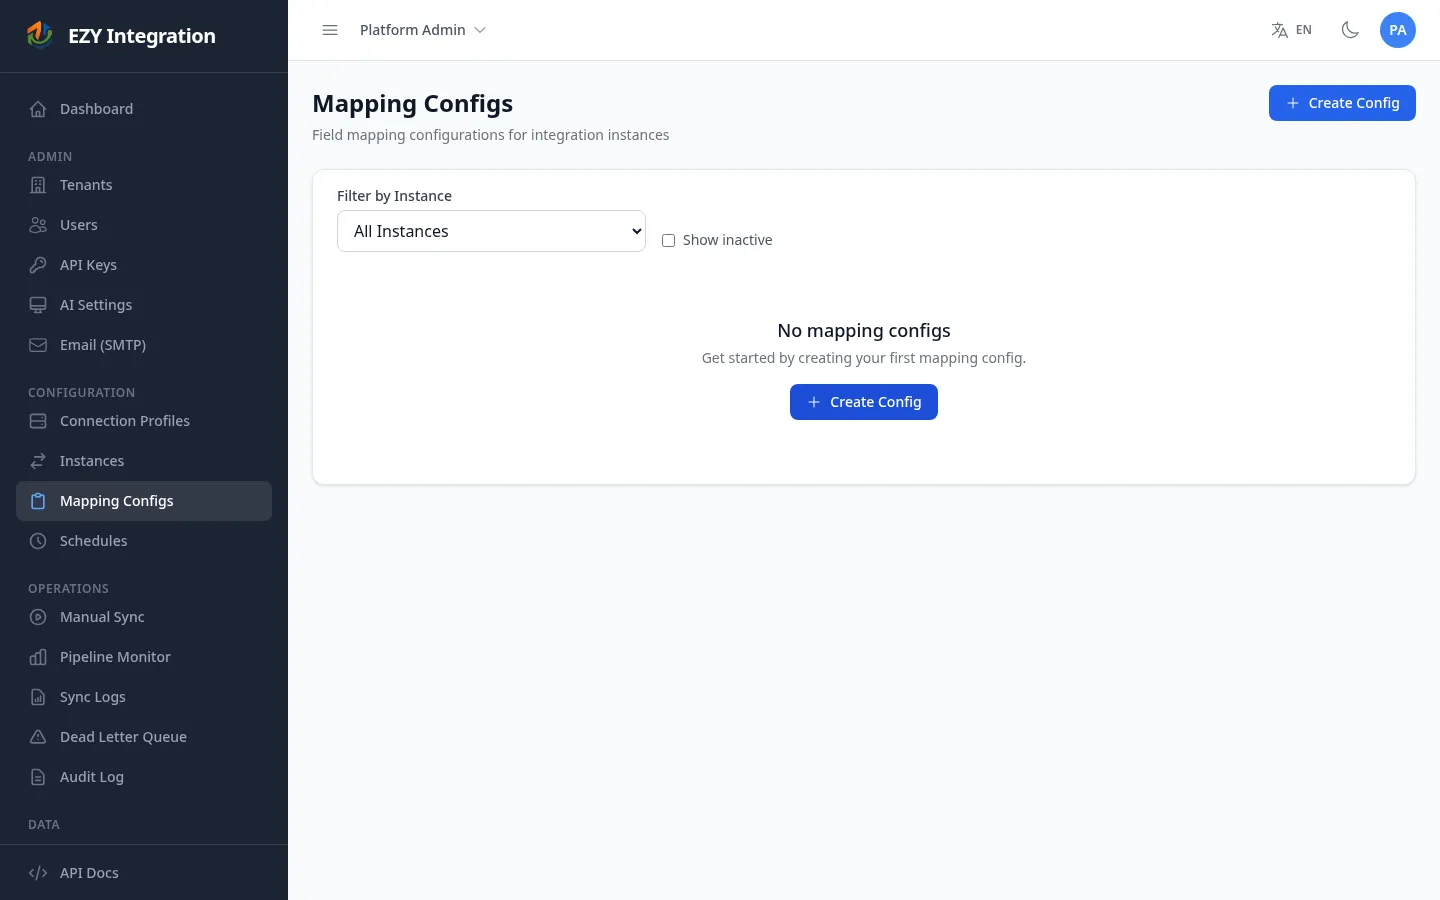
Step 4 — Author a mapping configuration
Section titled “Step 4 — Author a mapping configuration”A mapping configuration is a JSON document that tells EZY Integrations exactly how to extract records from the source system and how to map each source field to a target field. You edit mapping configurations in the built-in JSON editor, which includes an AI assistant that can generate a first draft based on your source and target systems.
- In the left navigation, open Mapping Configs.
- Click New Mapping Config.
- Select the source system type and target system type.
- Select the entity type (for example,
item). - Use the AI Assist button to generate a starting draft, or write the JSON manually.
- Review the generated mapping, adjust field names and transformers as needed, then click Save.
For a full explanation of the mapping document structure, see Mapping Configuration.
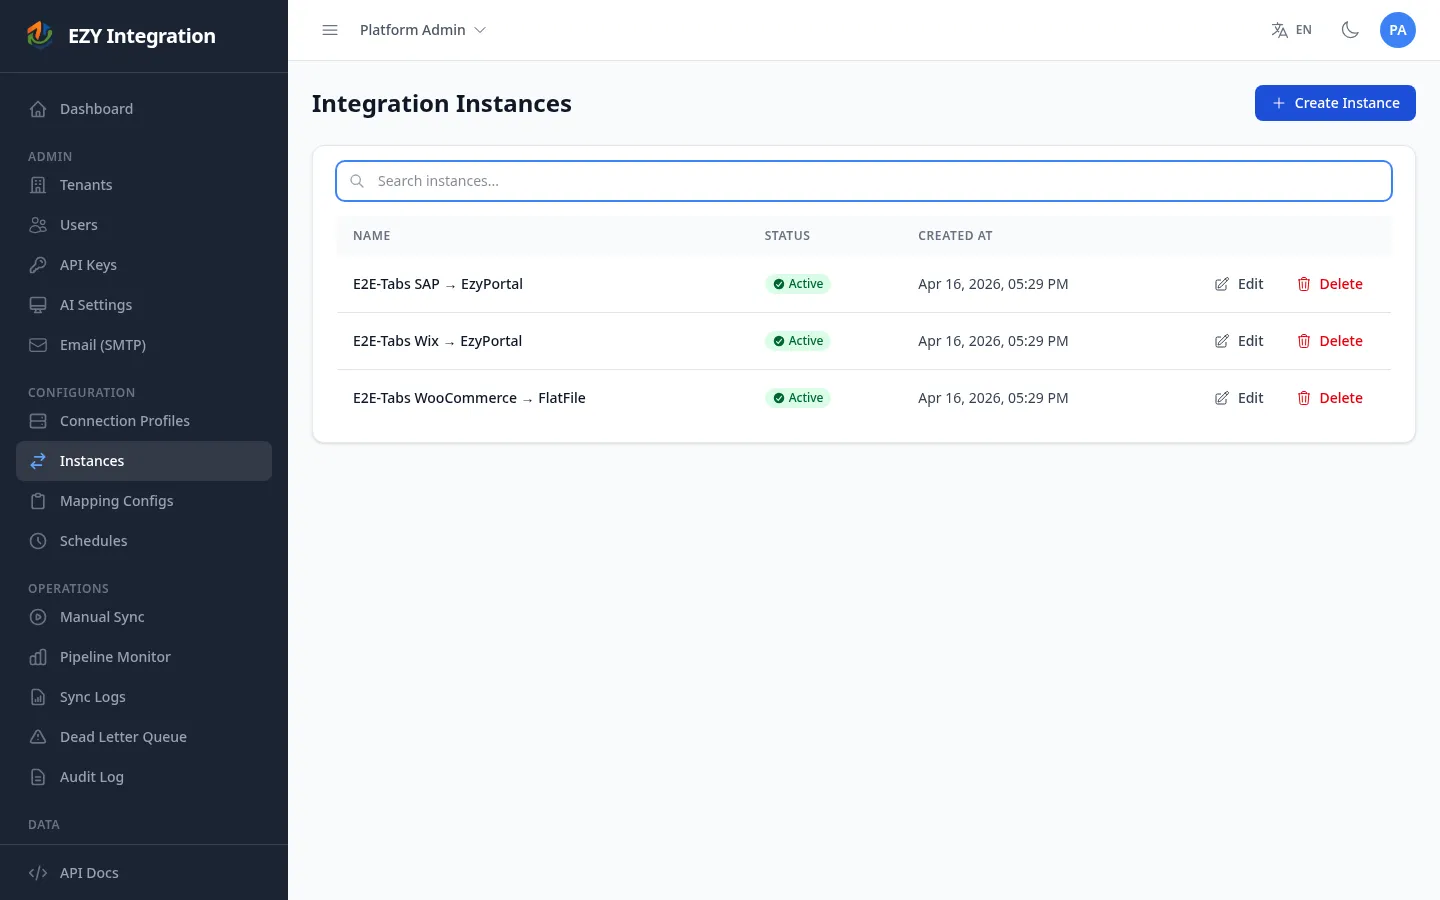
Step 5 — Create a job and run it manually
Section titled “Step 5 — Create a job and run it manually”A job (also called an instance) links a source connection profile, a target connection profile, and one or more mapping configurations into a single runnable unit.
- In the left navigation, open Instances.
- Click New Instance.
- Enter a name for the job.
- Select the Source profile you created in Step 2.
- Select the Target profile.
- Assign the mapping configurations that apply to this job.
- Click Save.
To trigger a manual run immediately:
- In the left navigation, open Sync Trigger.
- Select your job from the list.
- Click Run Now.
- Watch the status indicator — when the run completes, click through to view the results.
For full detail on managing and triggering runs, see Manual Runs.
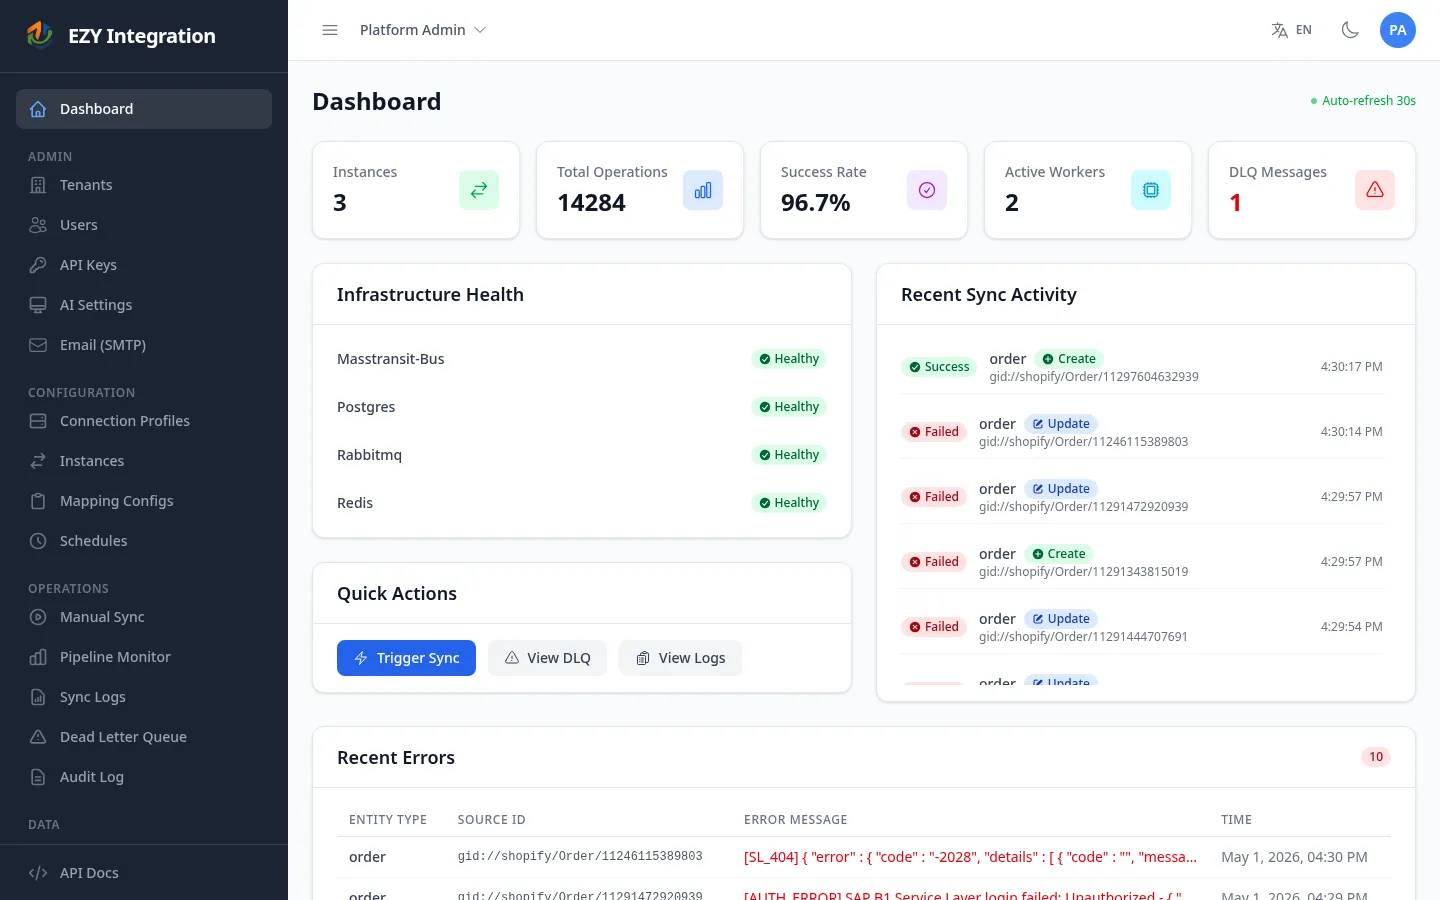
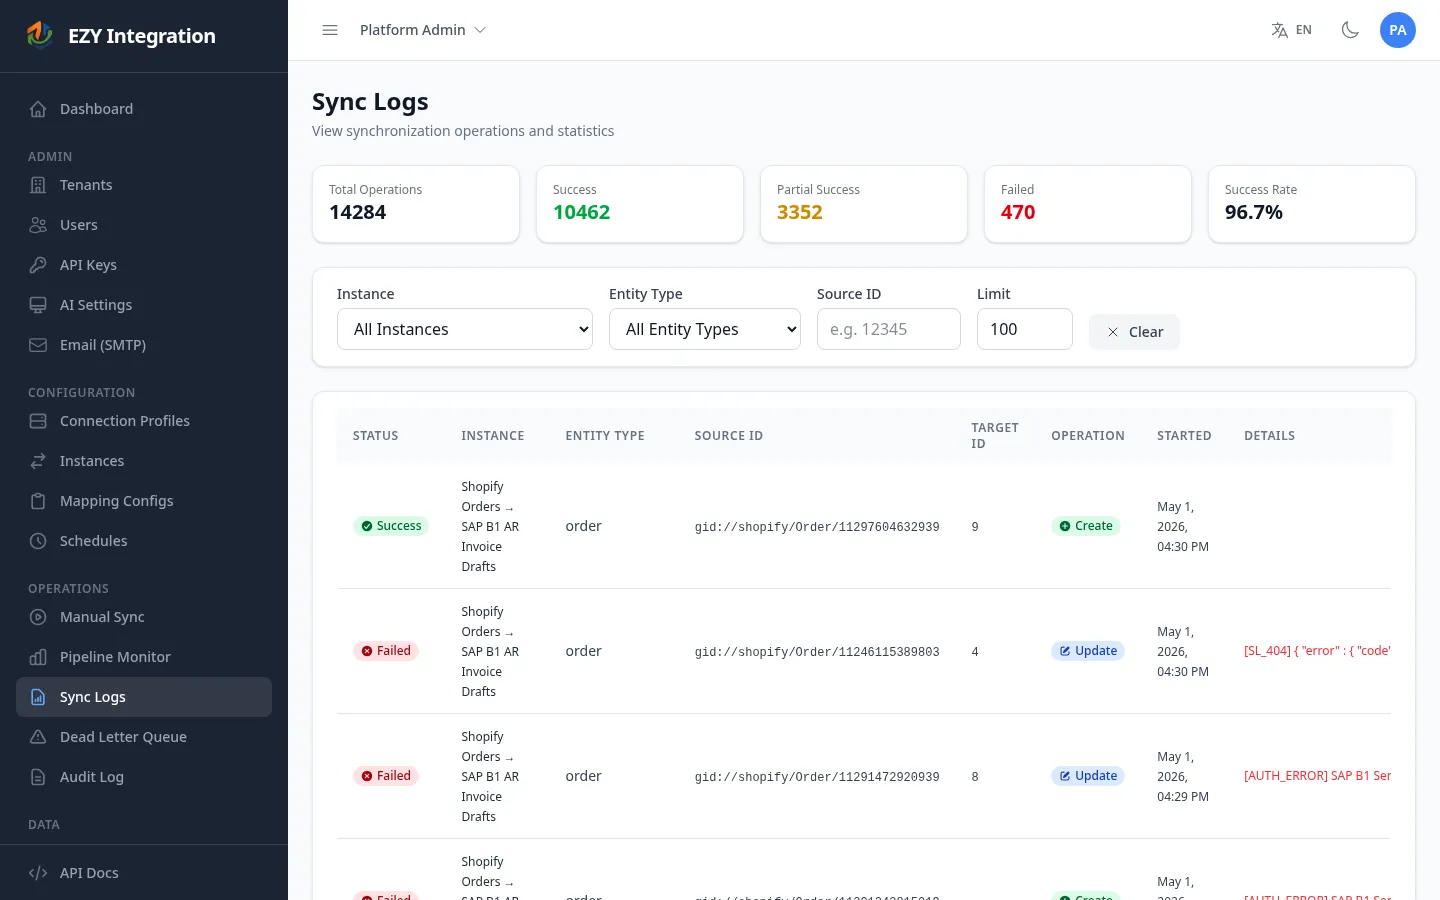
Step 6 — Review the run results
Section titled “Step 6 — Review the run results”After a run completes, open Sync Logs (or Run History under Monitoring) to see what happened.
Each run entry shows:
- Start time and duration.
- Number of records processed, succeeded, and failed.
- Error messages for any records that could not be written.
If records failed, check whether they appear in the failed-message recovery queue. You can inspect the error details and replay the messages after fixing the underlying issue. See Run History for filtering and drill-down options.
Step 7 — Schedule recurring jobs
Section titled “Step 7 — Schedule recurring jobs”Once a manual run has succeeded, you can set a schedule so the job runs automatically.
- In the left navigation, open Schedules.
- Click New Schedule.
- Select the job you want to schedule.
- Choose a recurrence — either a simple interval (for example, every 6 hours) or a cron expression for precise timing.
- Click Save. The schedule becomes active immediately.
For the full schedules reference, see Schedules.
Step 8 — What to do when something fails
Section titled “Step 8 — What to do when something fails”If a run ends with errors, work through these steps in order:
- Open Run History and locate the failed run.
- Click into the run to read the error messages for each failed record.
- Fix the root cause (wrong credentials, a missing field in the mapping, a validation error in the target system).
- If messages were sent to the failed-message recovery queue, open DLQ and Replay and replay them once the issue is resolved.
- If the error is not self-explanatory, see Common Errors for a list of known issues and resolutions.
Next steps
Section titled “Next steps”- Architecture — understand the full source-to-target data flow.
- Pipeline Stages — deep-dive into what happens at each stage.
- Connectors — explore the connector that matches your source or target system.
- Mapping Configuration — learn all the options available in a mapping document.