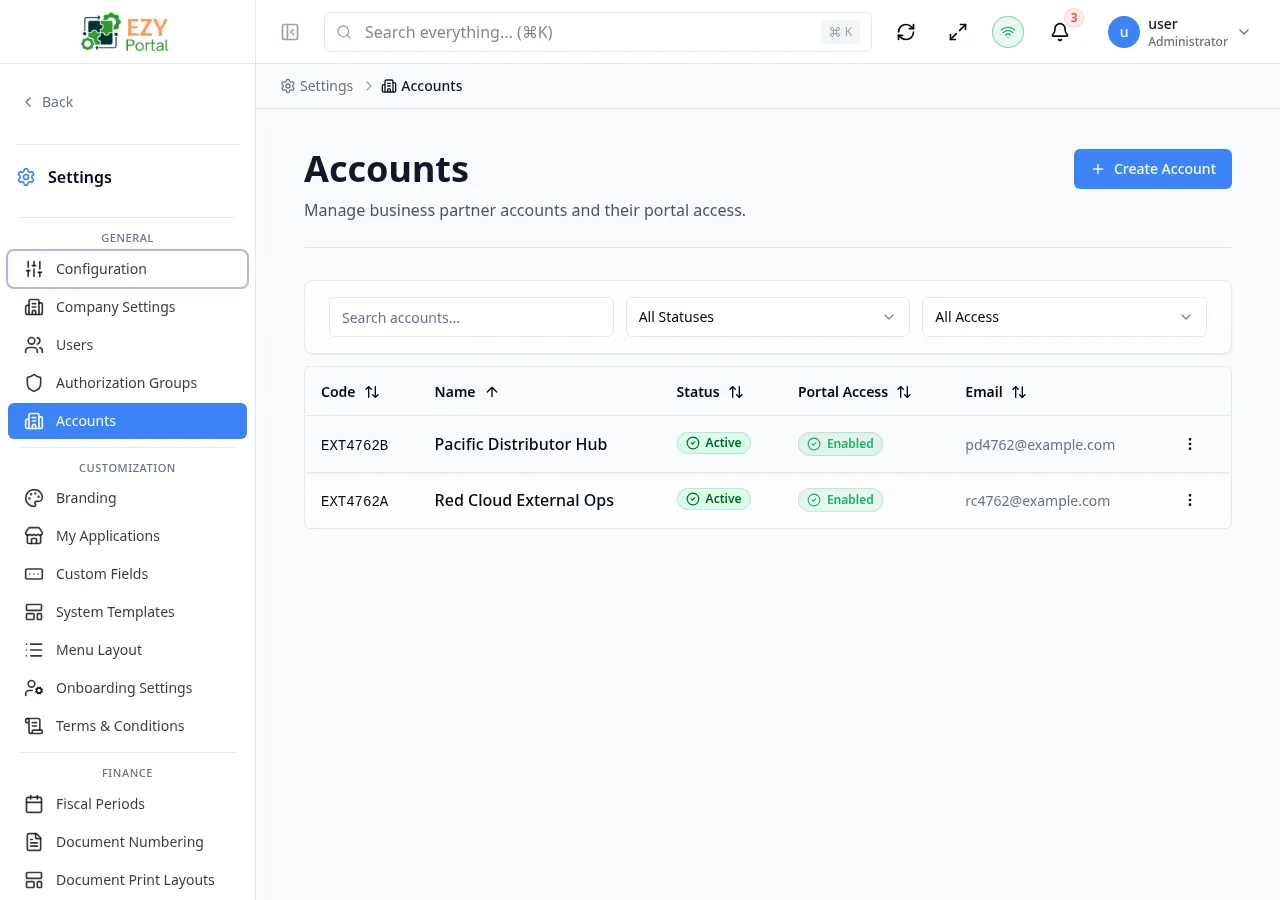
Accounts
Accounts represent external organizations, branches, customers, vendors, or other entities that need scoped portal access. The page is available when external accounts are enabled in the tenant configuration.
Accessing the Page
Section titled “Accessing the Page”- Route:
/accounts - Menu Path: Settings → General → Accounts
- Primary audience: Tenant administrators and other users with the required admin role.
What you can do here
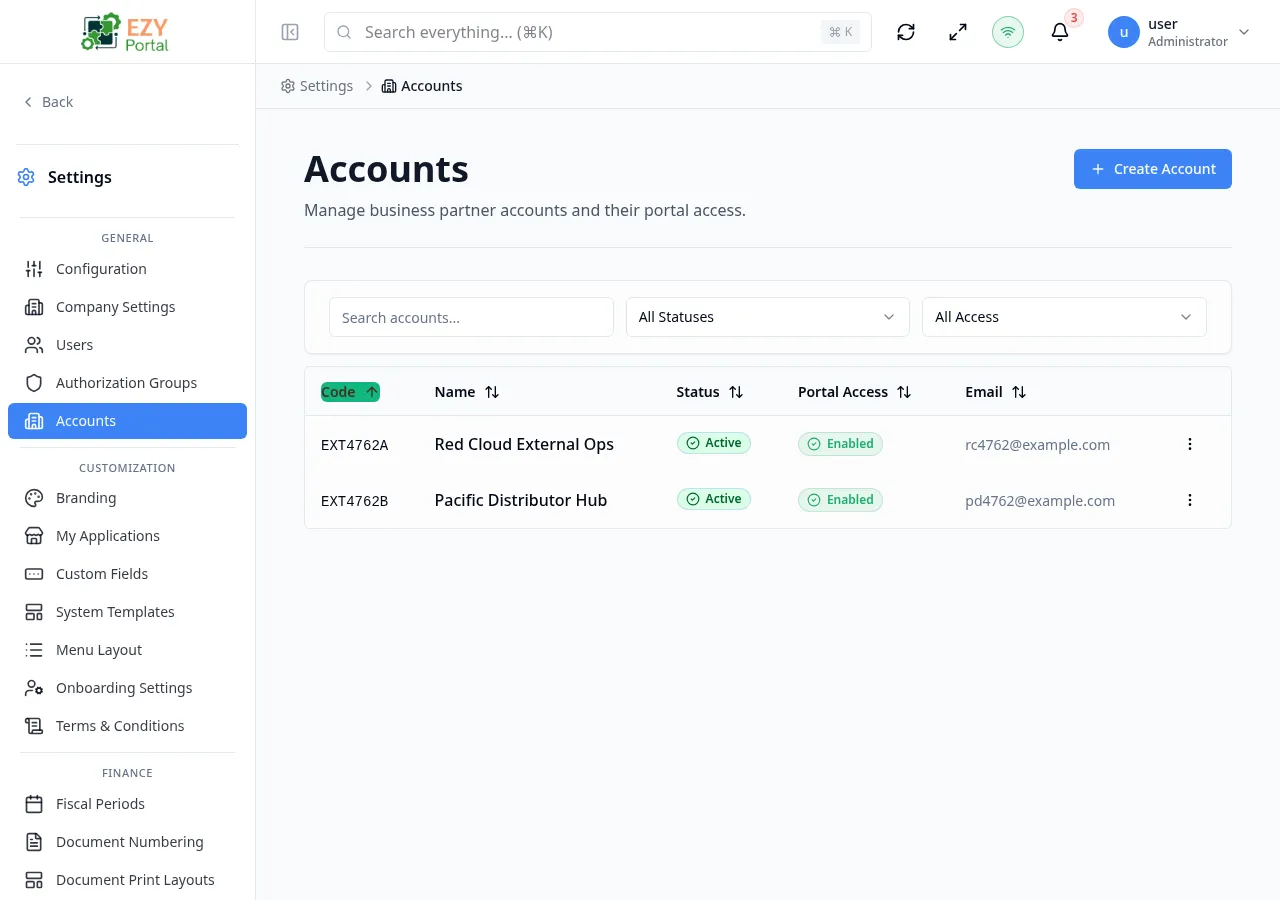
Section titled “What you can do here”- Search, sort, and filter accounts by status or portal access.
- Create new account records with identity, contact, and portal-access settings.
- Edit existing account name, description, status, and portal access settings.
- Open account detail pages to manage users and pending invitations.
- Delete accounts when permitted.
Common tasks
Section titled “Common tasks”- Open Settings → General → Accounts.
- Use the search box or status/portal-access filters to locate the account.
- Click Create Account to open the create dialog and fill in the required fields.
- Save the new account and use row actions to invite users into the account context.
- Open the account detail page to review the Overview, Users, and Pending Invitations tabs.
- If external accounts are disabled in the tenant’s runtime configuration, the
/accountsroute redirects away. - When the tenant uses BPLinked mode, a Business Partner selector appears in the create and edit dialogs. Selecting a BP auto-fills the account code and name if those fields are empty.
- The account Code is read-only after creation and cannot be changed in edit mode.
- Deleted accounts are moved to Trash and can be restored.
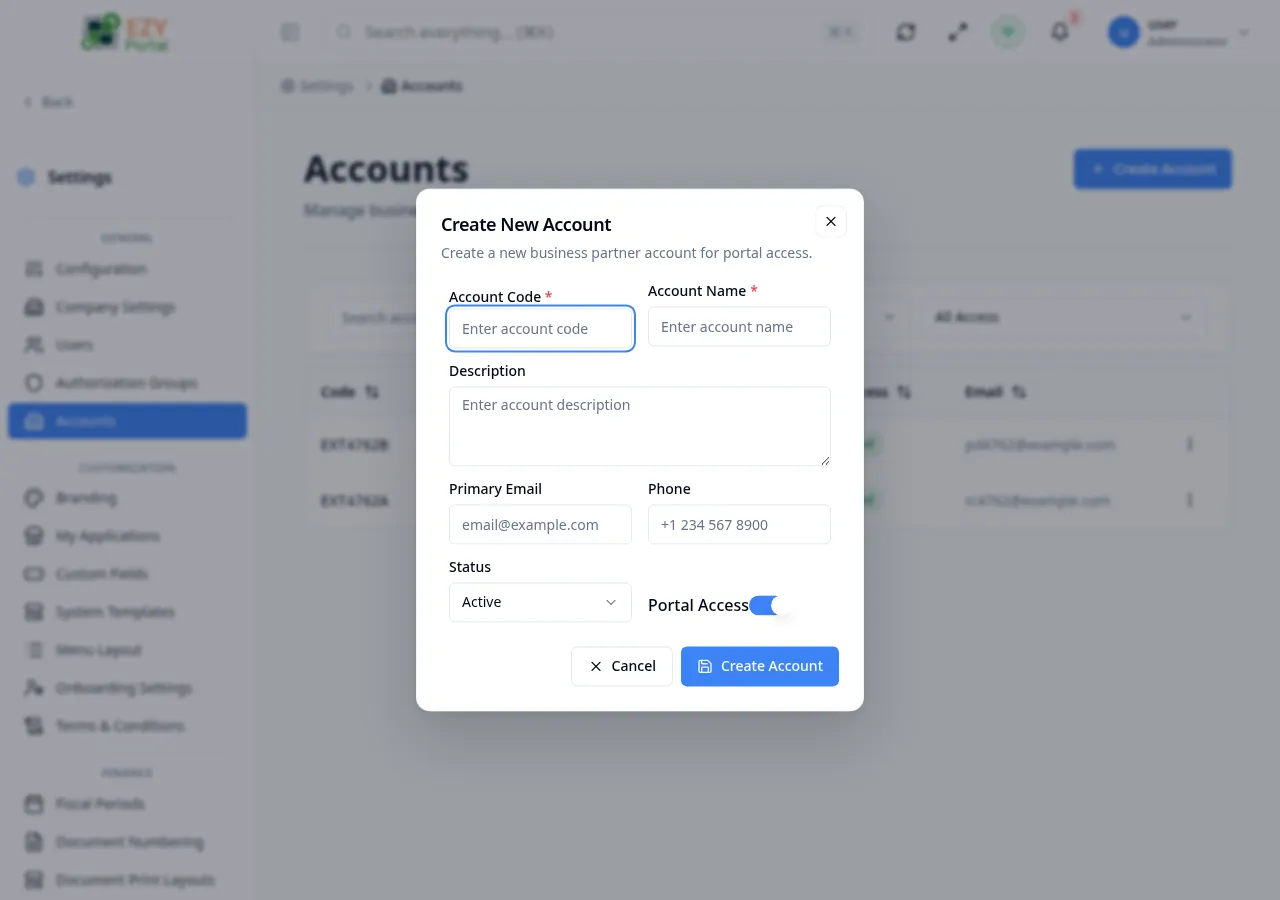
Creating an Account
Section titled “Creating an Account”Click Create Account in the page header. A dialog opens where you enter the account’s identity and access settings.

Fields
Section titled “Fields”| Field | Required | Type | Description | Default | Validation |
|---|---|---|---|---|---|
| Account Code | Yes | Text | Unique identifier for the account | — | Required; max 50 chars; letters, numbers, underscores, and hyphens only; validated for uniqueness in real time |
| Account Name | Yes | Text | Display name for the account | — | Required; max 255 chars |
| Description | No | Textarea | Optional description of the account | — | Max 500 chars |
| Account Type | Yes (conditional) | Select | Categorizes the account; shown only when account categories are configured | Default category | Required when categories are configured |
| Primary Email | No | Main contact email for the account | — | Must be a valid email address | |
| Phone | No | Text | Contact phone number | — | Max 50 chars |
| Status | Yes | Select | Account status: Active, Suspended, or Closed | Active | — |
| Portal Access | — | Toggle | Enables portal access for users in this account | On | — |
| Business Partner | No | Entity select | Links the account to an existing Business Partner record; shown only in BPLinked mode | — | BP must not already be linked to another account |
Steps:
- Click Create Account in the page header.
- Enter a unique Account Code and Account Name.
- Optionally add a Description, Primary Email, and Phone.
- If Account Type appears, select the appropriate category.
- Set Status and confirm Portal Access is toggled as needed.
- If in BPLinked mode, select a Business Partner to link the account.
- Click Create Account. The account appears in the list.
Editing an Account
Section titled “Editing an Account”Open row actions on an account row and select Edit to open the edit dialog. The dialog is pre-filled with the current account data.
Same fields as Creating. Account Code is read-only after creation and cannot be changed.
The full account detail form (accessible by clicking a row or selecting View Details) also provides tabs for managing Users and Pending Invitations.
Deleting / Deactivating an Account
Section titled “Deleting / Deactivating an Account”Open row actions on the target account and select Delete to move it to Trash. To suspend without deleting, use Edit and change the Status to Suspended or Closed.
- Open row actions on the target account.
- Select Delete to move the account to Trash (recoverable), or select Edit and set Status to Suspended or Closed.
- Confirm deletion in the dialog.
Note: Deleting an account disables portal access for all users in that account. Users are not deleted — they remain in the system but lose account-scoped access.
Related Pages
Section titled “Related Pages”- Users — manage tenant-level users
- Authorization Groups — configure permission groups used by account users