Customization Settings Overview
Customization Settings lets tenant administrators adapt the portal experience to match the organization. These pages control how the portal looks, which applications are available, how extra fields appear on forms, how system messages and pages are presented, and what users see during onboarding. This sub-module is used primarily by tenant administrators.
Accessing the Page
Section titled “Accessing the Page”- Menu Path: Settings → Customization
- Primary audience: Tenant administrators.
What you can do here
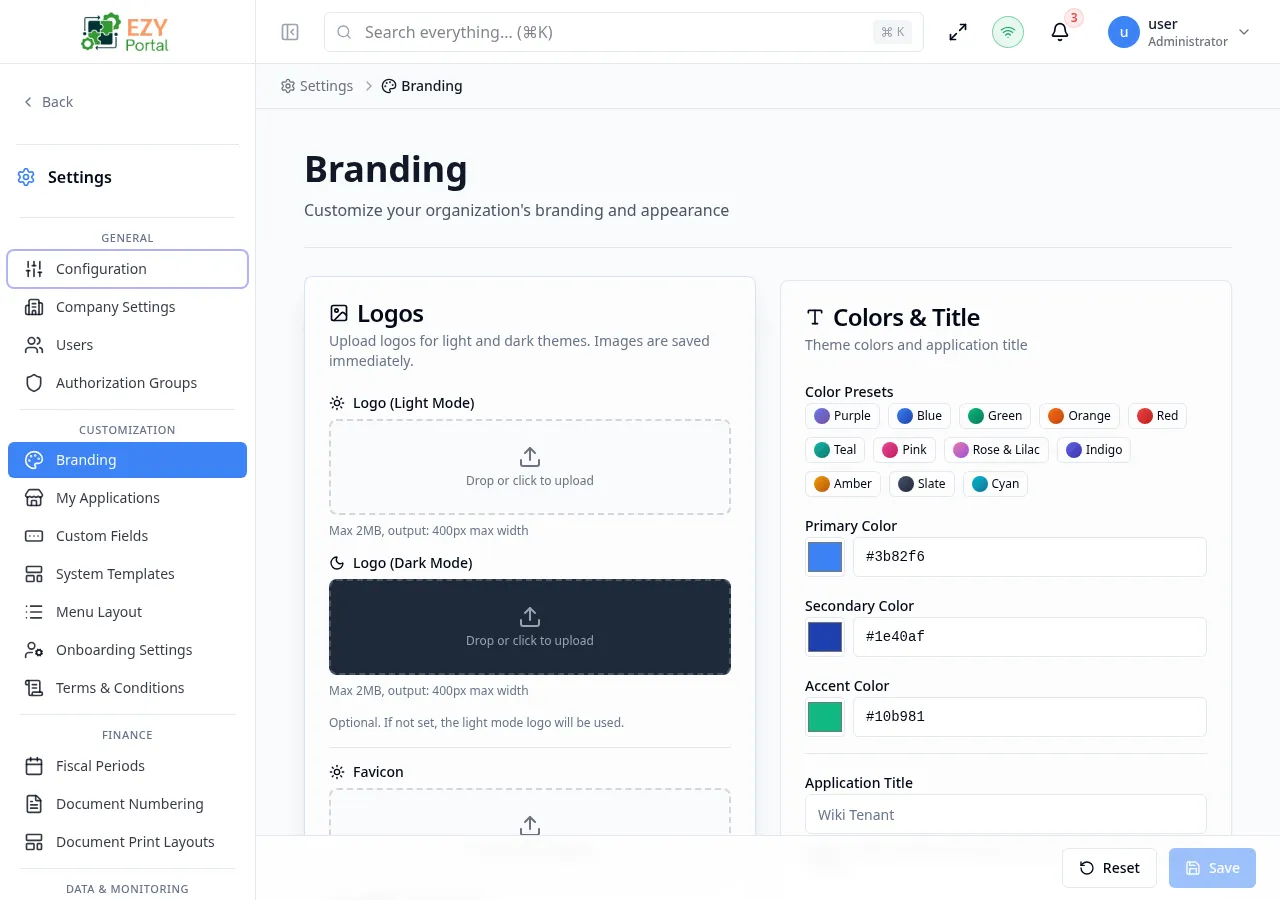
Section titled “What you can do here”- Upload logos, set a favicon, choose a color palette, and preview the visual result in real time via Branding.
- Enable or disable portal applications from the app gallery in My Applications.
- Add extra data fields to registered entities without code changes using Custom Fields.
- Edit email notification templates and editable system page content through System Templates.
- Control which menu items appear and their display order with Menu Layout.
- Configure the account setup experience — visible fields, gender options, terms requirement, and redirect URL — in Onboarding Settings.
- Create and activate legally-binding terms versions that users must accept via Terms & Conditions.
Pages in this group
Section titled “Pages in this group”| Page | Purpose |
|---|---|
| Branding | Logos, favicon, application title, color palette, status colors, and live preview. |
| My Applications | App-gallery view for active and available portal applications. |
| Custom Fields | Custom field definitions by registered entity. |
| System Templates | Email templates and editable system page content. |
| Menu Layout | Drag-and-drop menu visibility and ordering. |
| Onboarding Settings | Required and visible setup-account fields, gender options, terms requirement, redirects, and custom field overrides. |
| Terms & Conditions | Create, edit, view, and activate terms versions. |
Common tasks
Section titled “Common tasks”- Open Settings and expand the Customization group in the sidebar.
- Go to Branding and upload your company logo, favicon, and choose the primary color before users log in for the first time.
- Open My Applications and enable only the applications the tenant should see.
- Define Custom Fields for any entity that requires extra data before creating operational records.
- Review Onboarding Settings and Terms & Conditions to ensure new accounts complete setup correctly.
- Most customization pages require tenant administrator access.
- Application availability, menu visibility, and permissions are separate controls; keep all three aligned.
- Test customization changes with a non-admin account before announcing them to users.
- Branding changes take effect immediately for all active sessions after saving.