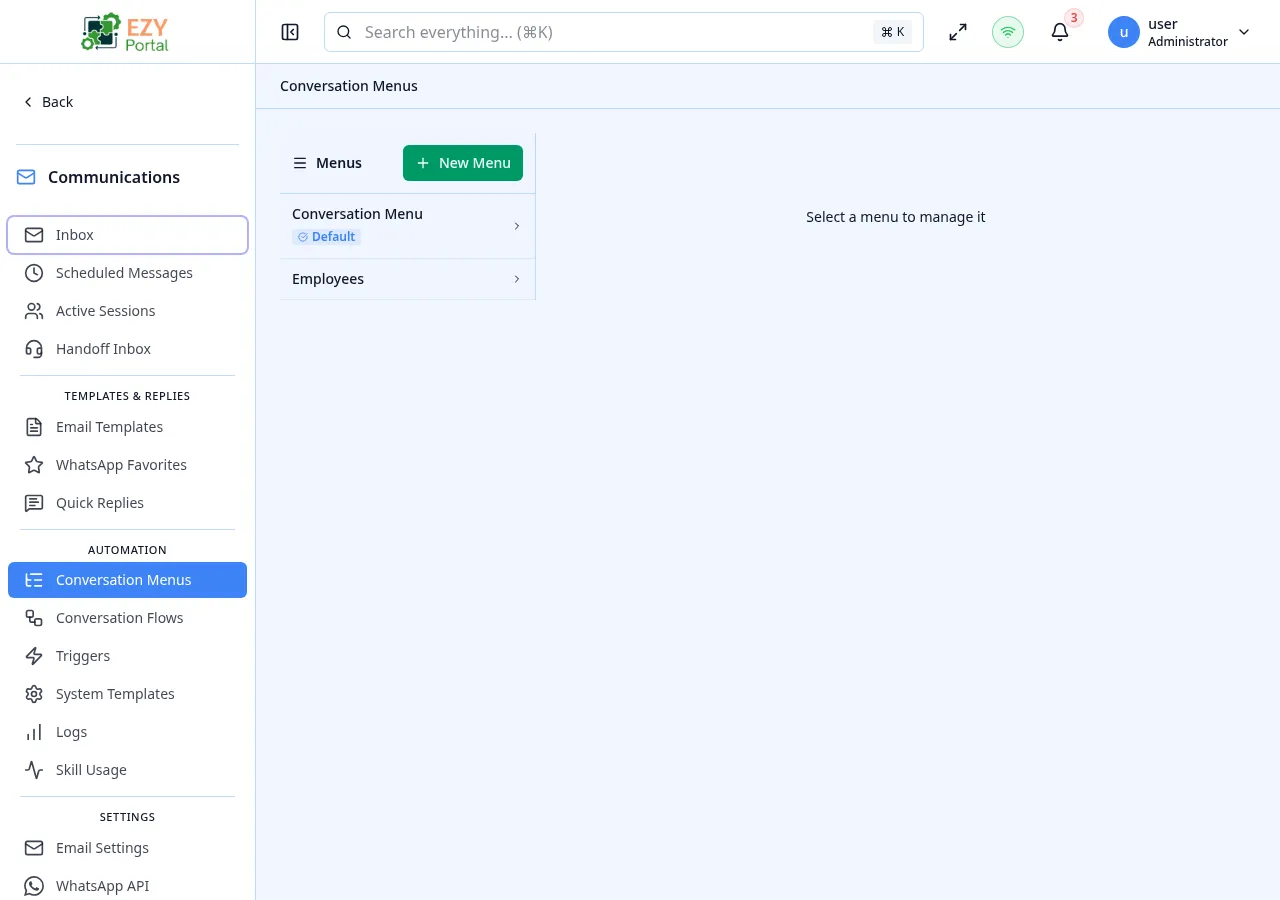
The Conversation Menus page lets tenant administrators design the menu tree that contacts see when they message the chatbot on WhatsApp or email. Each menu has an ordered list of nodes that can open submenus, show information, invoke a Conversation Skill, run a Conversation Flow, or hand the conversation off to a human agent.
- Route:
/communications/menus
- Menu Path: Communications → Conversation Menus
- Primary audience: Tenant administrators authoring the conversational experience.
| Permission | Description |
|---|
communications.access (Read) | View menus and their node trees |
communications.access (Admin) | Create, edit, reorder and delete menus and nodes |
The page has two panes:
- Left rail — the list of menus belonging to the tenant. Each entry shows the menu name, a short description, and a “Default” marker on the menu that contacts see first.
- Right pane — the selected menu’s tree of nodes, plus tabs for Tree, Audiences and Settings.
When you create or edit a menu, the dialog asks for:
| Field | Required | Type | Description |
|---|
| Name | Yes | Text | Display name for the menu |
| Description | No | Text | Internal notes about what the menu is for |
| Is Default | No | Toggle | Marks this menu as the one shown to contacts at the start of a conversation. Only one menu per tenant can be the default. |
Each menu is an ordered list of nodes. A node can be one of:
| Type | Description |
|---|
| Submenu | Opens another menu when the contact picks this option. |
| Info | Sends a static piece of information back to the contact (a short text block). |
| Skill | Invokes a Conversation Skill registered by a Portal service. |
| Flow | Runs a Conversation Flow — a sequence of authored prompts and skill calls. |
| Handoff | Escalates the conversation to a human agent through the Handoff Inbox. |
| Action | Description | Permission |
|---|
| New menu | Open the create-menu dialog | communications.access (Admin) |
| Action | Description |
|---|
| Edit | Open the edit dialog for the selected menu |
| Delete | Remove the menu and all its nodes |
| Set as Default | Mark this menu as the one shown to contacts at the start of a conversation |
| Action | Description |
|---|
| Add node | Append a new node of any type to the tree |
| Edit node | Change the node’s label, target skill / flow / submenu, or info text |
| Reorder | Drag and drop a node to a new position in the tree |
| Delete node | Remove the node from the tree |
- A menu must have at least one node before it can be set as the default.
- Reordering is persisted immediately — there is no separate “Save order” step.
- Deleting a Submenu node does not delete the menu it points to, only the entry that links to it.
- Skill nodes are limited to skills the active tenant has access to. If a skill is retired, any Skill node pointing to it is hidden from contacts at dispatch time and surfaced in the editor with a “Skill no longer available” badge.
- The Audiences tab lets you scope a menu to a subset of business partners (for example, only show a “Reseller” menu to BPs tagged as resellers). When no audience is set, the menu applies to all contacts.
- Open Communications → Conversation Menus.
- Click New menu to create a menu called, for example, “Self-service”.
- Use Add node to add a Skill node pointing to
finance.ar_balance so contacts can request their balance.
- Add a second Skill node for
support.create_ticket and reorder it below the balance node.
- Toggle Is Default so this menu greets every contact.