API Keys
API Keys gives tenant administrators controlled programmatic access for integrations and automation. Each key is assigned an authorization group that determines its permissions, and can be restricted to specific IP addresses or given an expiration date for better security.
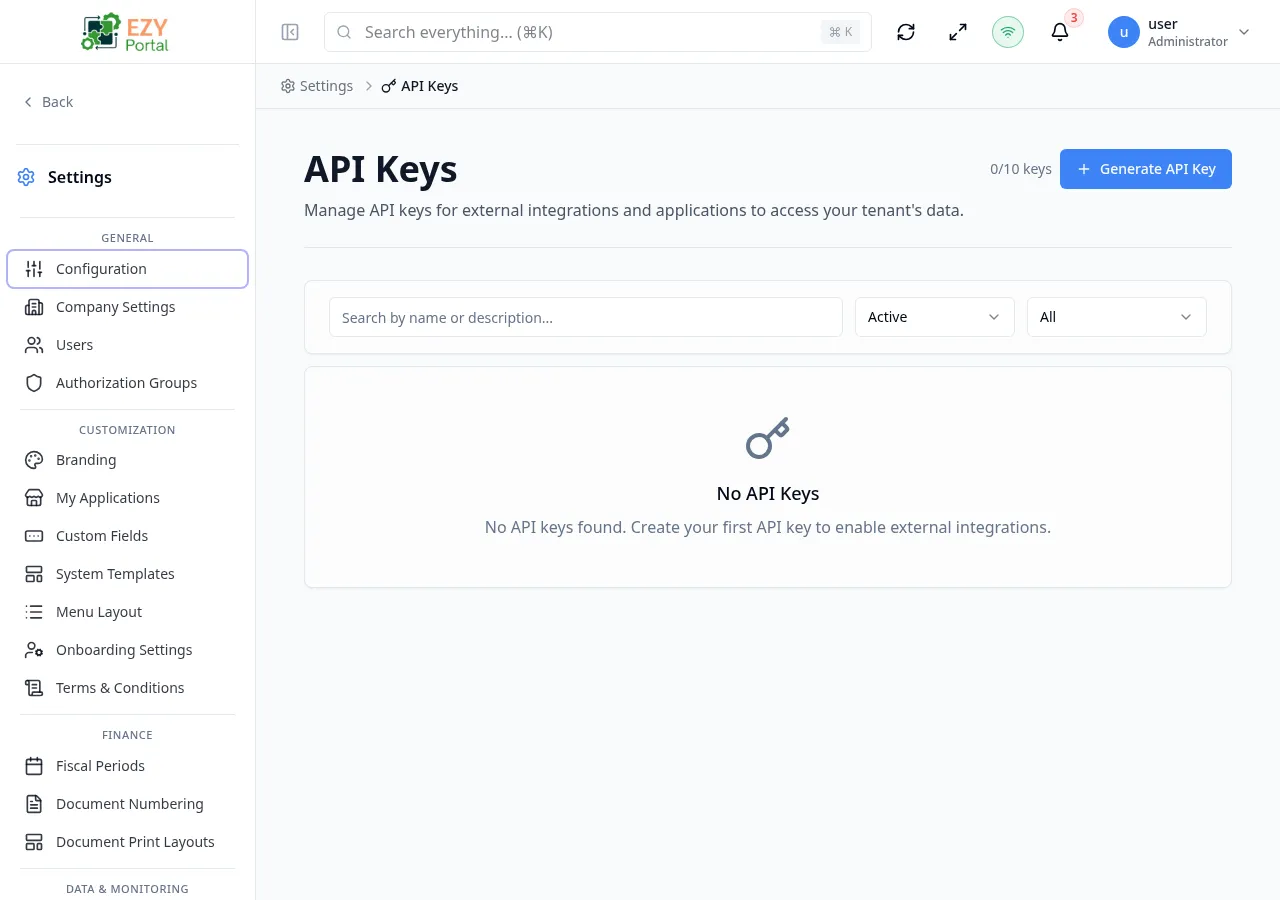
Accessing the Page
Section titled “Accessing the Page”- Route:
/tenant-api-keys - Menu Path: Settings → Data & Monitoring → API Keys
- Primary audience: Tenant administrators and Super Users.
What you can do here
Section titled “What you can do here”- View all tenant API keys with their status, authorization group, expiration date, and last-used timestamp.
- Generate a new API key and copy the one-time secret before it is masked.
- Edit a key’s name, description, authorization group, and IP allowlist.
- Rotate a key to generate a new secret while preserving its configuration.
- Revoke a key to immediately block access for any application using it.
- Filter keys by status (Active / Revoked) and expiration state (Valid / Expiring Soon / Expired).
Common tasks
Section titled “Common tasks”- Open Settings → Data & Monitoring → API Keys.
- Click Generate API Key to open the generation form.
- Fill in the key name, select an authorization group, and optionally set an expiration date and IP allowlist.
- Click Generate — a modal displays the key secret. Copy it now; it will not be shown again.
- Store the secret in a vault or your integration’s secret store.
- Use the
X-API-Keyheader in API requests to authenticate as this key.
- The secret is shown only once, immediately after generation. If it is lost, rotate the key to generate a new one.
- Revoking a key is immediate and permanent — applications using the key lose access instantly.
- Rotating a key invalidates the current secret and issues a new one. All applications using the old secret must be updated.
- Keys count toward a tenant limit. The page header displays the current usage (e.g.,
2/10 keys). Contact support to raise the limit. - IP restrictions use CIDR notation. Leaving the allowlist empty permits requests from any IP address.
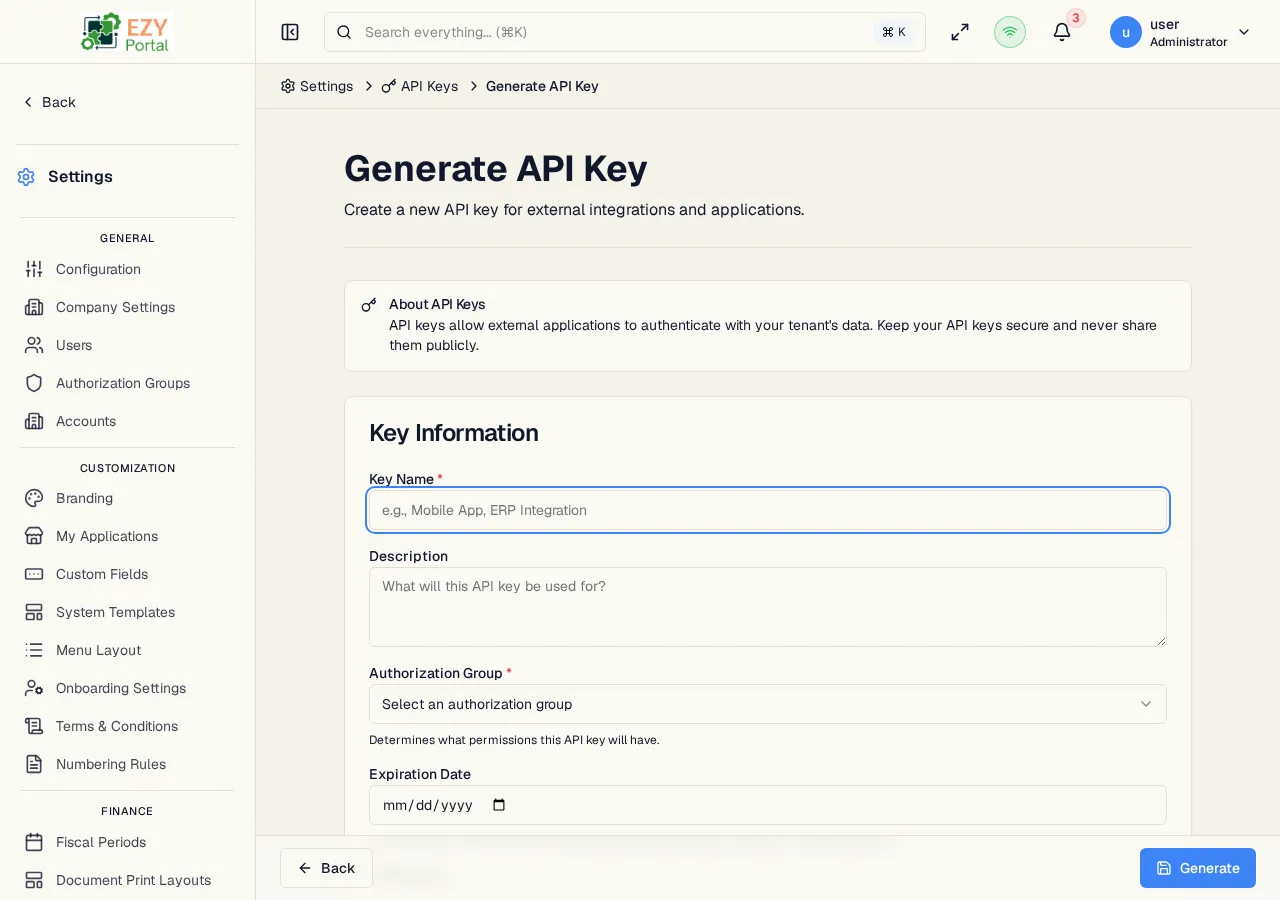
Generating an API Key
Section titled “Generating an API Key”Click Generate API Key in the page header. A full-page form opens where you configure the key before generating the secret.
Fields
Section titled “Fields”| Field | Required | Type | Description | Default | Validation |
|---|---|---|---|---|---|
| Key Name | Yes | Text | Display name for the key. Used to identify it in the list | — | 2–200 characters |
| Description | No | Textarea | Optional description of what this key is used for | — | Max 1000 characters |
| Authorization Group | Yes | Select | The permission group that governs what this key can access. Only groups of type Tenant API Key are available | — | Required |
| Expiration Date | No | Date | Date after which the key stops working. Leave empty for a key that never expires | — | Must be a future date |
| IP Allowlist | No | Textarea | One IP address or CIDR range per line. Leave empty to allow requests from any IP | — | Valid IP or CIDR per line |
Steps:
- Click Generate API Key in the page header.
- Enter a descriptive Key Name (e.g., “Mobile App”, “ERP Integration”).
- Optionally add a Description explaining the key’s purpose.
- Select an Authorization Group — this determines the key’s permissions.
- Optionally set an Expiration Date for better security.
- Optionally enter one or more IPs or CIDRs in the IP Allowlist to restrict which addresses may use the key.
- Click Generate. A modal immediately shows the generated secret.
- Click the copy icon to copy the secret to the clipboard. Store it securely — it will not be shown again.
- Click Close to dismiss the modal and return to the key list.
Editing an API Key
Section titled “Editing an API Key”Open the Edit icon (pencil) on an active key row to update its metadata. The key secret is not affected by an edit.
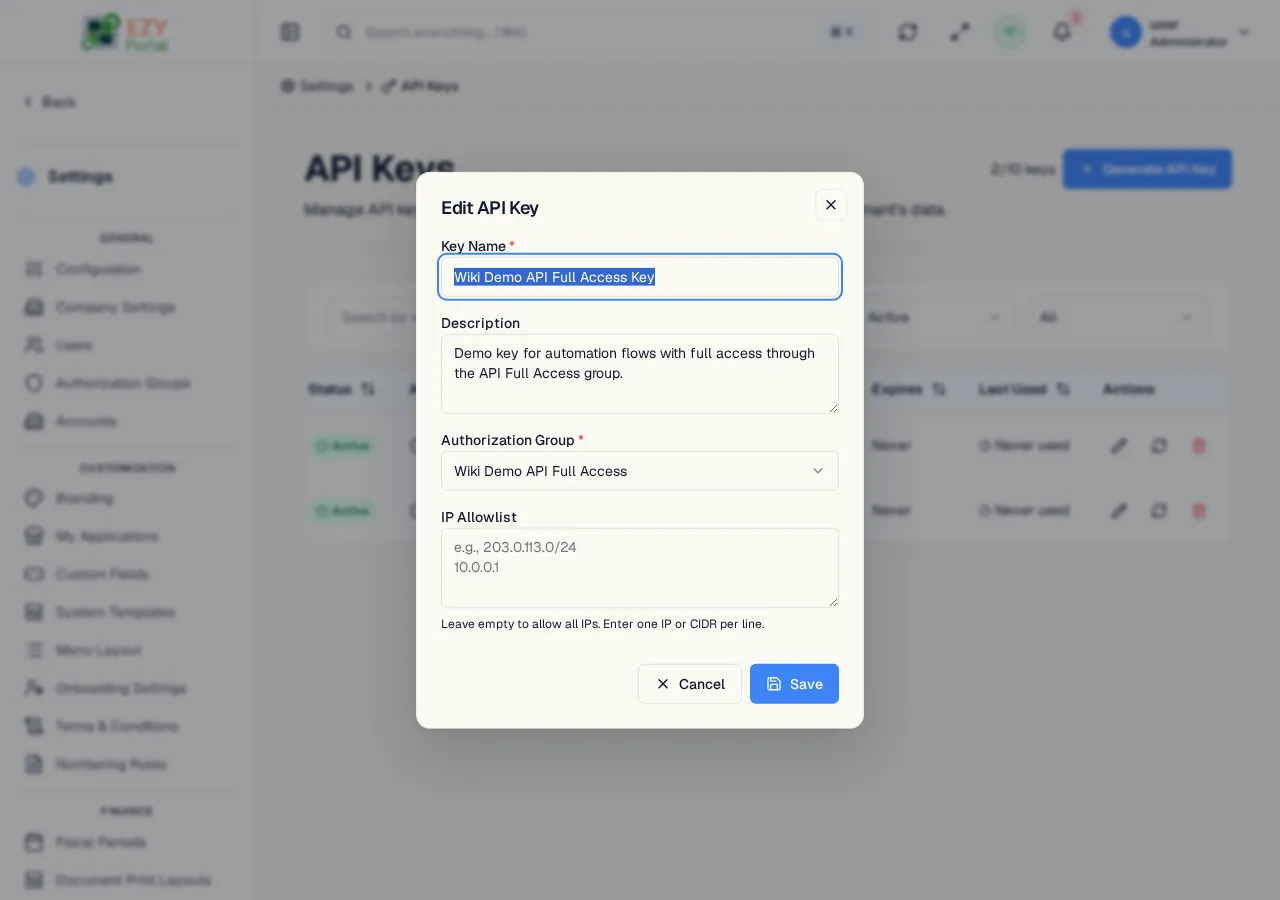
Same fields as Generating, with these differences:
- Expiration Date is not available in the edit form — to change the expiry you must rotate the key.
- Authorization Group is editable after creation.
- All other fields behave identically to the generate form.
Steps:
- Click the pencil icon on the target key row.
- Update the desired fields.
- Click Save.
Rotating an API Key
Section titled “Rotating an API Key”Rotating generates a new secret for an existing key while keeping its name, authorization group, and other configuration unchanged.
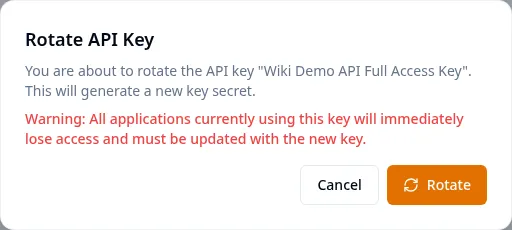
- Click the rotate icon (circular arrows) on an active key row.
- Read the warning: all applications using the current secret will lose access immediately.
- Click Rotate to confirm.
- A modal displays the new secret. Copy it and update all applications before closing.
Note: Rotation is irreversible — the old secret is invalidated the moment the new one is issued.
Revoking an API Key
Section titled “Revoking an API Key”Revoking permanently deactivates a key. Any application using the key loses access immediately.
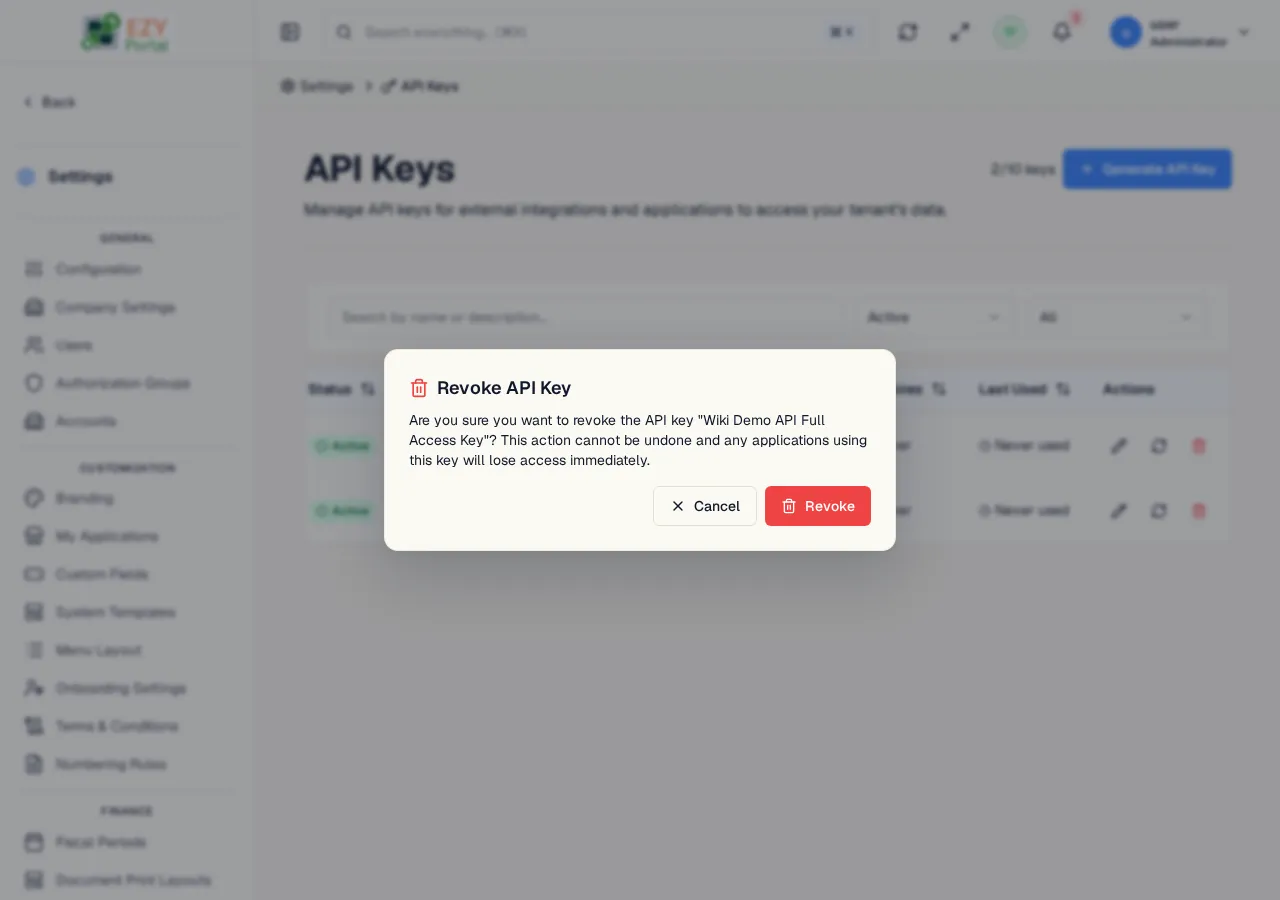
- Click the revoke icon (trash) on the target key row.
- Read the confirmation: “Are you sure you want to revoke the API key [name]? This action cannot be undone and any applications using this key will lose access immediately.”
- Click Revoke to confirm — the key status changes to Revoked in the list.
Note: Revoked keys cannot be re-activated. Generate a new key if access needs to be restored.
Related Pages
Section titled “Related Pages”- Authorization Groups — manage the permission groups assignable to API keys
- Service API Keys — platform-level keys managed under System settings