Fiscal Periods
Fiscal Periods defines the date ranges that the portal uses to organize transactions and reporting. Administrators use it to generate a full year of periods automatically, open individual custom periods, edit period notes, and close periods at the end of each accounting cycle.
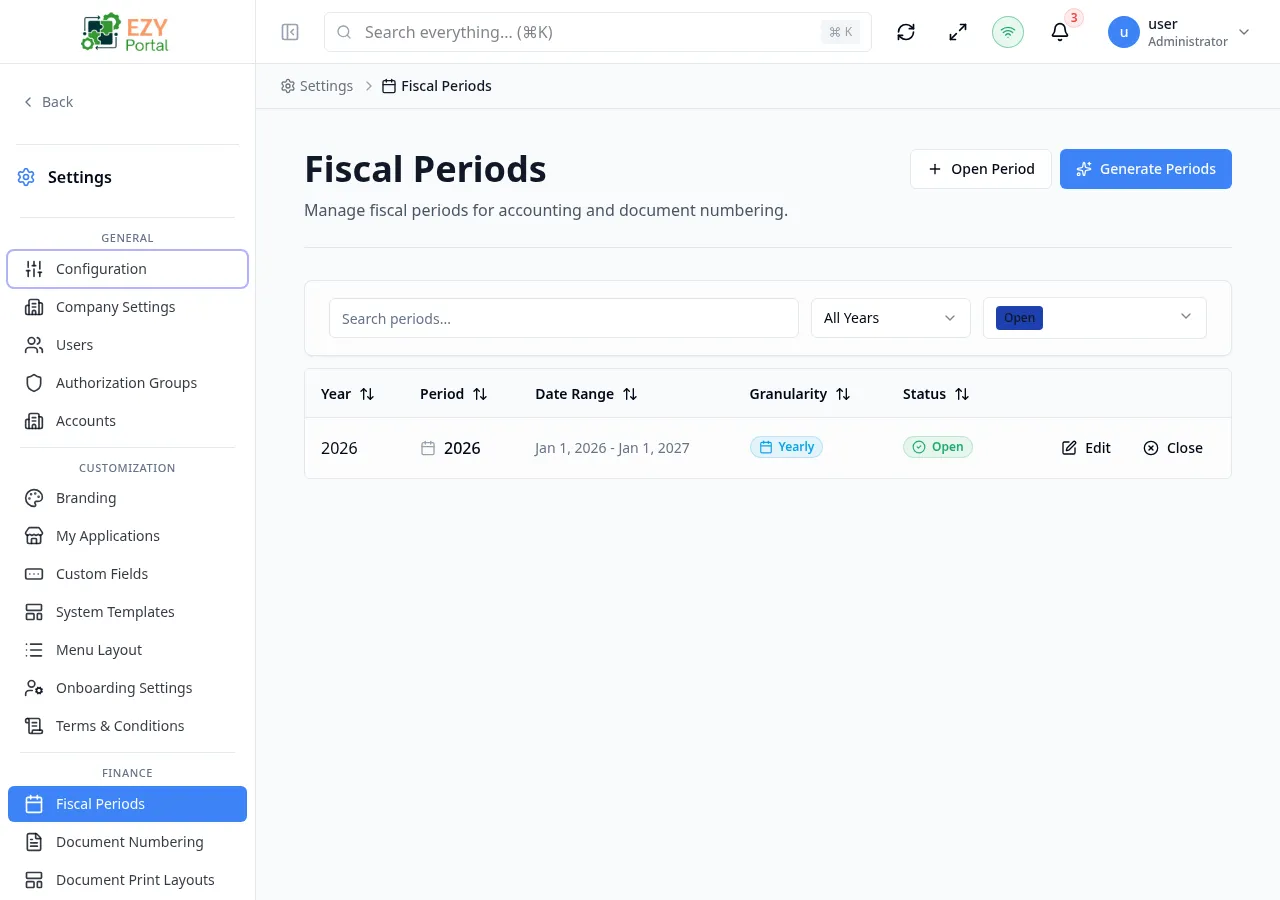
Accessing the Page
Section titled “Accessing the Page”- Route:
/fiscal-periods - Menu Path: Settings → Finance → Fiscal Periods
- Primary audience: Tenant administrators (superusers). Account administrators do not have access.
What you can do here
Section titled “What you can do here”- Generate all periods for a fiscal year at once using the Generate Periods dialog.
- Open a single custom period manually with specific date boundaries using the Open Period dialog.
- Edit the notes on any existing period.
- Close an open period to prevent new documents from being posted to it.
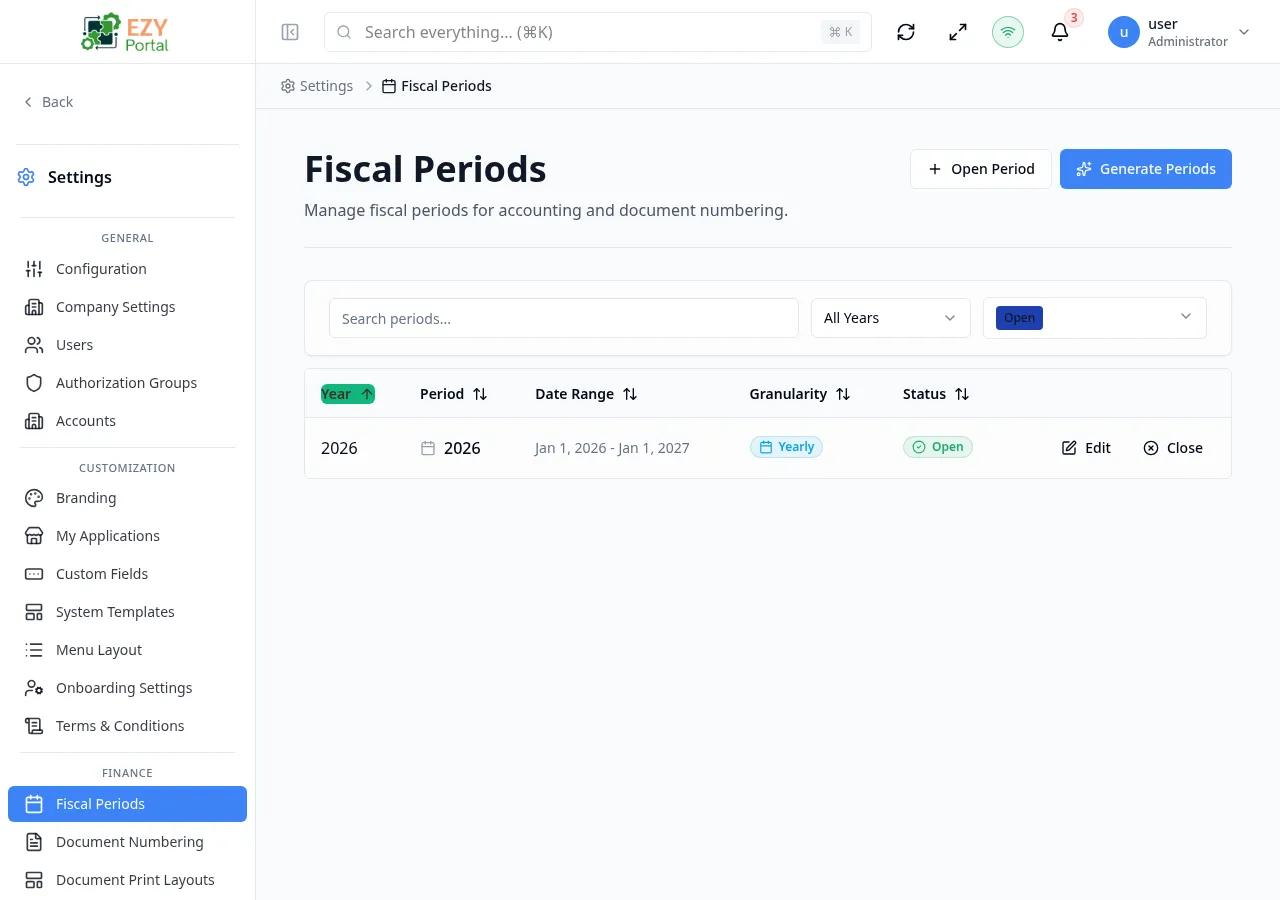
- Filter the list by fiscal year, status, or free-text search.
Common tasks
Section titled “Common tasks”- Open Settings → Finance → Fiscal Periods.
- Click Generate Periods to open the generation dialog.
- Select the Fiscal Year, Granularity (Monthly, Quarterly, Yearly, or Weekly), and the Start Date.
- Click Generate — the portal creates all periods for the year and reloads the list.
- To close a period at month end, open its row actions and select Close Period, add optional closing notes, check the confirmation checkbox, and click Close Period.
- Fiscal periods are shown filtered to Open status by default. Use the Status filter to view Closed or Locked periods.
- When the tenant is in Managed Mode (synced from an external ERP), fiscal periods are read-only and cannot be modified from the portal.
- Only tenant superusers can access this page. Account administrators see an access-denied message.
- Closing a period can be reversed by a system administrator if needed.
Generating Fiscal Periods
Section titled “Generating Fiscal Periods”Click Generate Periods in the page header to open the generation dialog. The portal calculates the correct number of periods based on the selected granularity and creates them all at once.
Fields
Section titled “Fields”| Field | Required | Type | Description | Default | Validation |
|---|---|---|---|---|---|
| Fiscal Year | Yes | Select | Calendar year for which to generate periods | Current year | Required |
| Granularity | Yes | Select | Period length: Monthly (12), Quarterly (4), Yearly (1), or Weekly (52) | Monthly | Required |
| Start Date | Yes | Date | First day of the fiscal year; determines period boundaries | January 1 of selected year | Required; must be a valid date |
Steps:
- Click Generate Periods in the page header.
- Select the Fiscal Year from the dropdown.
- Choose the Granularity — the helper text shows how many periods will be created.
- Confirm or adjust the Start Date (defaults to January 1 of the selected year).
- Click Generate. The portal generates all periods and displays a success toast with the count.
Note: If periods already exist for the selected year and granularity, the system may create duplicates. Review the list before generating to avoid overlapping periods.
Opening a Single Fiscal Period
Section titled “Opening a Single Fiscal Period”Click Open Period in the page header to manually create one period with custom date boundaries. Use this when you need a non-standard period that does not fit the automatic generation pattern.
Fields
Section titled “Fields”| Field | Required | Type | Description | Default | Validation |
|---|---|---|---|---|---|
| Fiscal Year | Yes | Select | Year this period belongs to | Current year | Required |
| Period Number | Yes | Number | Sequential number of the period within the year | 1 | Required; must be a positive integer |
| Granularity | Yes | Select | Period type: Monthly, Quarterly, Yearly, or Weekly | Monthly | Required |
| Start Date | Yes | Date | First day of the period | January 1 of current year | Required |
| End Date | Yes | Date | Exclusive end date — the first day after the period ends | February 1 of current year | Required; must be after Start Date |
| Notes | No | Textarea | Optional description or context for this period | — | — |
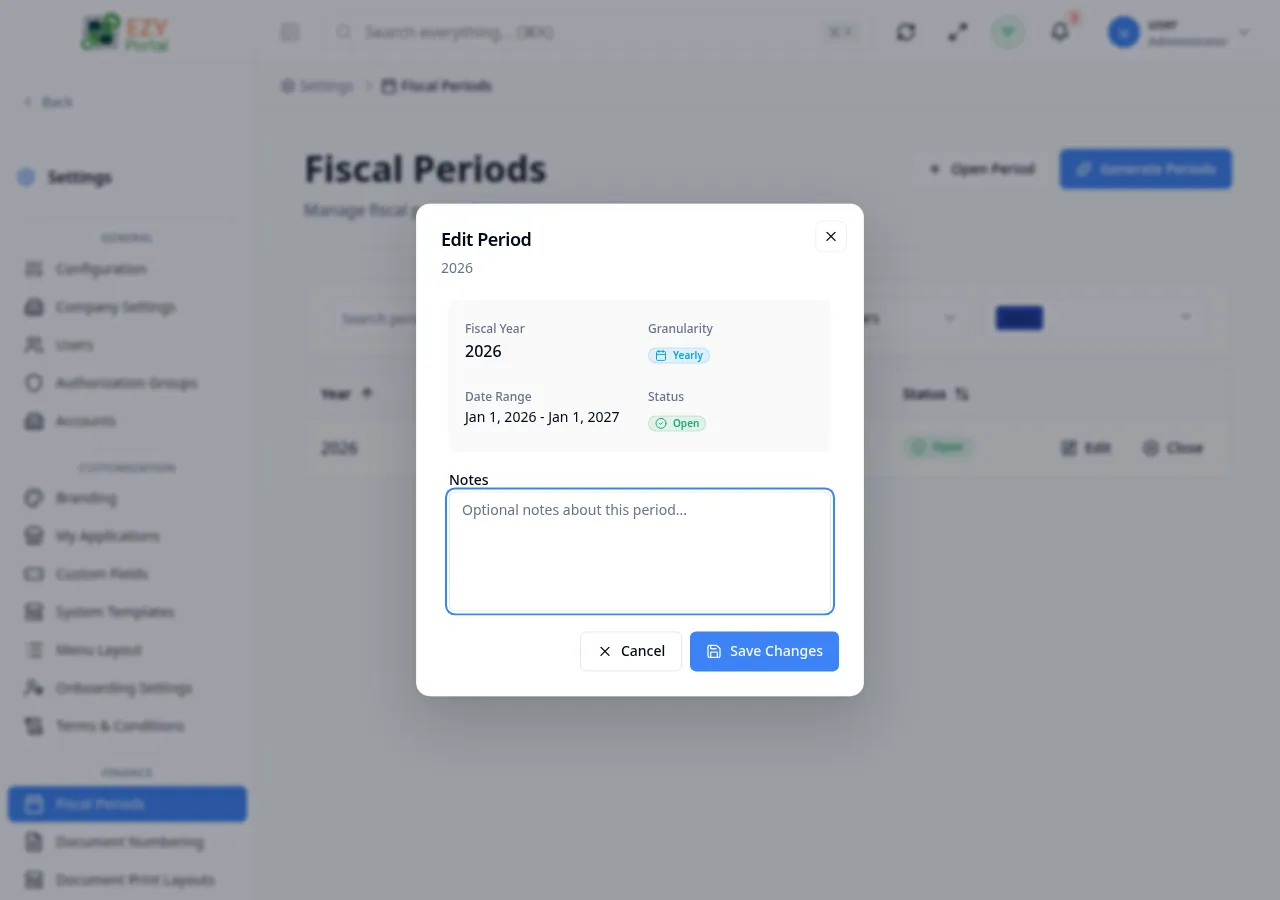
Editing a Fiscal Period
Section titled “Editing a Fiscal Period”Open row actions on any period and select Edit to update the period’s notes. The period’s date range, fiscal year, granularity, and status are read-only in the edit dialog.
Fields
Section titled “Fields”| Field | Required | Type | Description | Default | Validation |
|---|---|---|---|---|---|
| Notes | No | Textarea | Internal notes or comments about this period | — | — |
The following fields are displayed as read-only in the edit dialog: Fiscal Year, Granularity, Date Range, Status, and Closed At (if applicable).
Closing a Fiscal Period
Section titled “Closing a Fiscal Period”Open row actions on an open period and select Close Period to prevent new documents from being posted to it.
- Open row actions on the target period.
- Select Close Period.
- Optionally enter Closing Notes to record why the period is being closed.
- Check the confirmation checkbox: “I understand that closing this period will affect document numbering.”
- Click Close Period to confirm. The period status changes to Closed.
Note: Closing a period prevents any new documents from being assigned to it. The action can be reversed by a system administrator.
Related Pages
Section titled “Related Pages”- Document Numbering — configure number formats that use fiscal period granularity for sequence resets