Jobs Overview
An Instance (also called a job) is the central unit of work in EZY Integrations. It links a source connection profile to a target connection profile and holds one or more mapping configurations — one per entity type you want to transfer. Creating an instance is the step that brings together your connection profiles and your mappings into a single runnable unit.
Instance lifecycle
Section titled “Instance lifecycle”An instance runs through the following stages each time it is triggered.
flowchart LR
    A[Source Profile] --> B[Instance]
    C[Target Profile] --> B
    D[Mapping Configs] --> B
    B --> E{Triggered}
    E --> F[Ingest]
    F --> G[Normalize]
    G --> H[Transform]
    H --> I[Execute]
    I --> J[Finalize]
    J --> K([Succeeded])
    J --> L([Partial Success])
    I --> M([Failed])
An instance itself has an effective status that reflects whether it is ready to run:
| Status | Meaning |
|---|---|
| Active | The instance is enabled and its source and target profiles are both active. It can be triggered or scheduled. |
| Inactive | The instance has been manually disabled. Scheduled runs will not fire while it is inactive. |
| Dependency Inactive | The instance is enabled, but one of its connection profiles has been disabled. The instance cannot run until the profile is re-activated. |
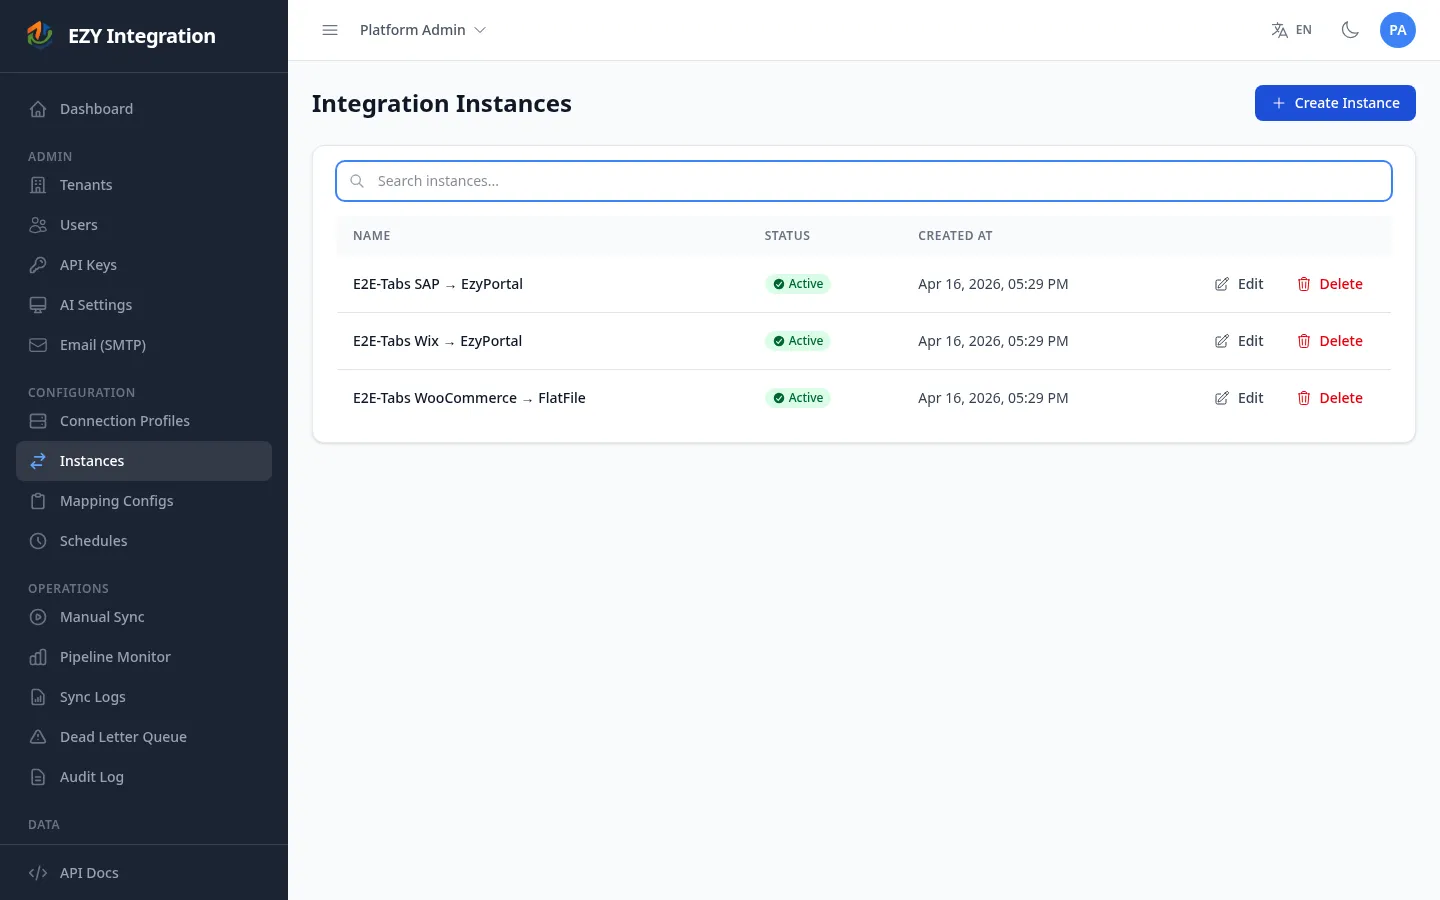
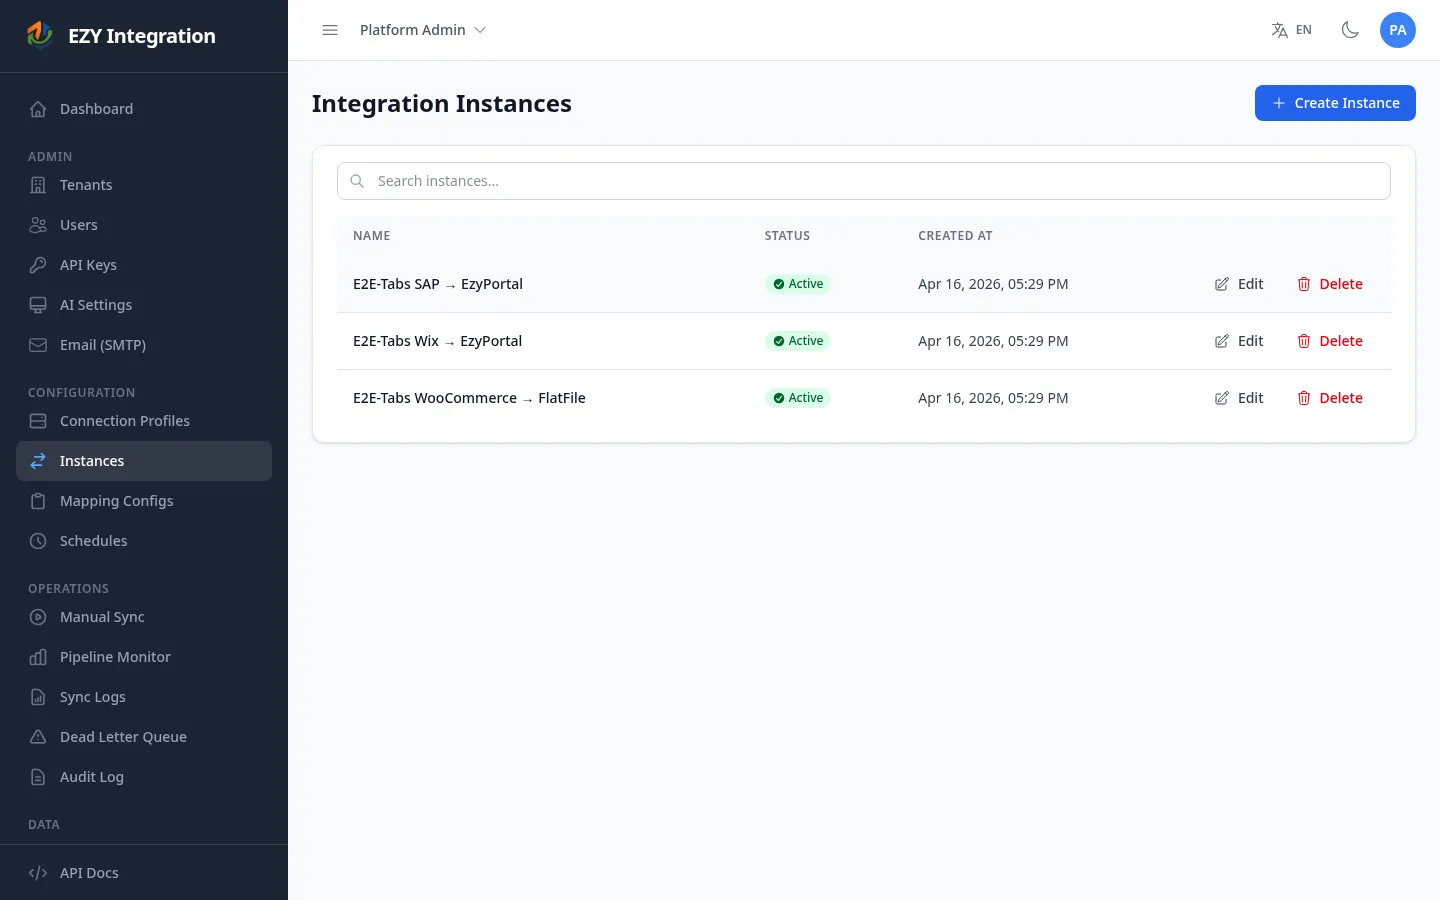
Accessing the Instances screen
Section titled “Accessing the Instances screen”In the left navigation, select Instances. The list shows all instances for your tenant with their name, effective status, and creation date.
Creating an instance
Section titled “Creating an instance”- On the Instances list page, click Create Instance.
- Enter a descriptive Name for the instance (required).
- Select the Source Profile — the connection profile for the system you are reading data from (required).
- Select the Target Profile — the connection profile for the system you are writing data to (required).
- Click Create Instance.
After creating the instance, open its edit page to assign mapping configurations and to enable or disable it.
Instance fields
Section titled “Instance fields”| Field | Required | Description |
|---|---|---|
| Name | Yes | A human-readable label for this instance. Appears in the instances list, schedules, and run history. |
| Source Profile | Yes | The connection profile that the instance reads data from. Must be an active profile before the instance can run. |
| Target Profile | Yes | The connection profile that the instance writes data to. Must be an active profile before the instance can run. |
| Active | No | Toggle to enable or disable the instance. Defaults to active on creation. An inactive instance will not fire on schedule. |
Editing an instance
Section titled “Editing an instance”- On the Instances list, click Edit next to the instance.
- Change the Name or toggle the Active state.
- The source and target profiles are shown read-only on the edit page. To change profiles, delete the instance and create a new one.
- Click Save.
Deleting an instance
Section titled “Deleting an instance”Click Delete on the instances list. An instance can only be deleted if it has no active schedules. If the delete button is disabled, remove all schedules attached to this instance first. Deletion is permanent.
Triggering a run
Section titled “Triggering a run”There are two ways to run an instance:
- Manual run — trigger immediately from the Sync Trigger page. See Manual Runs.
- Scheduled run — configure a recurring cadence. See Schedules.
Monitoring run history
Section titled “Monitoring run history”After a run completes, view its results in Run History. The run history shows per-entity counts (succeeded, skipped, failed) and links to the Dead Letter Queue for any failed records.
Related pages
Section titled “Related pages”- Manual Runs — trigger an instance run on demand.
- Schedules — automate runs on a recurring cadence.
- DLQ and Message Replay — manage failed records.
- Run History — view results of past runs.
- Architecture Overview — understand the full pipeline.