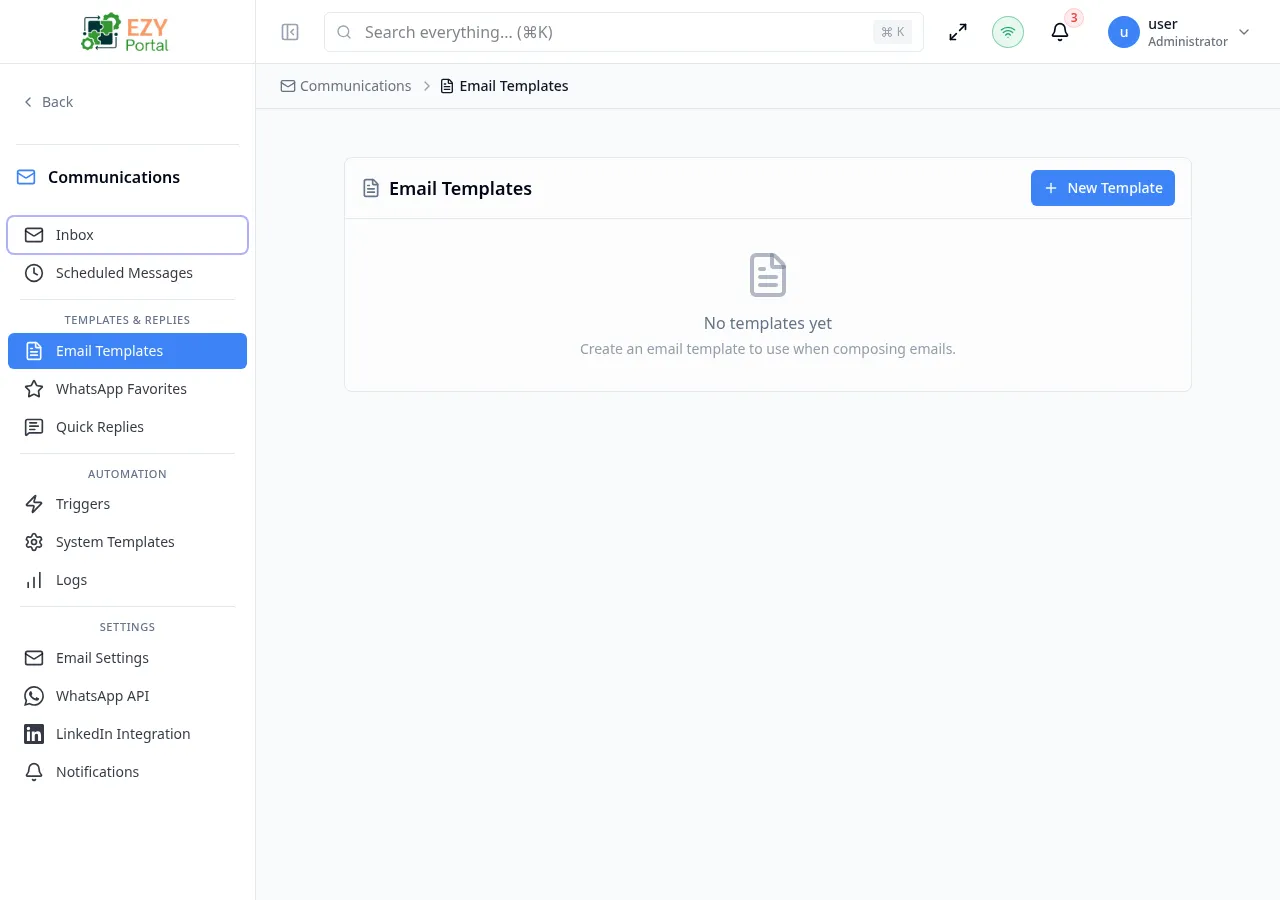
Email Templates
The Email Templates page lets you build a library of reusable email templates that can be selected when composing messages or assigned to automation triggers. Each template stores a subject, body, category, and the variable placeholders detected in its content.
Accessing the Page
Section titled “Accessing the Page”- Route:
/communications/email-templates - Menu Path: Communications → Templates & Replies → Email Templates
- Primary audience: Administrators and team members who create outbound communications.
What you can do here
Section titled “What you can do here”- View all tenant email templates in a card list.
- Create new templates with a name, category, subject, and body.
- Edit existing templates.
- Delete templates that are no longer needed.
- Use templates in automation triggers or when composing an email from the inbox.
Common tasks
Section titled “Common tasks”- Open Communications → Templates & Replies → Email Templates.
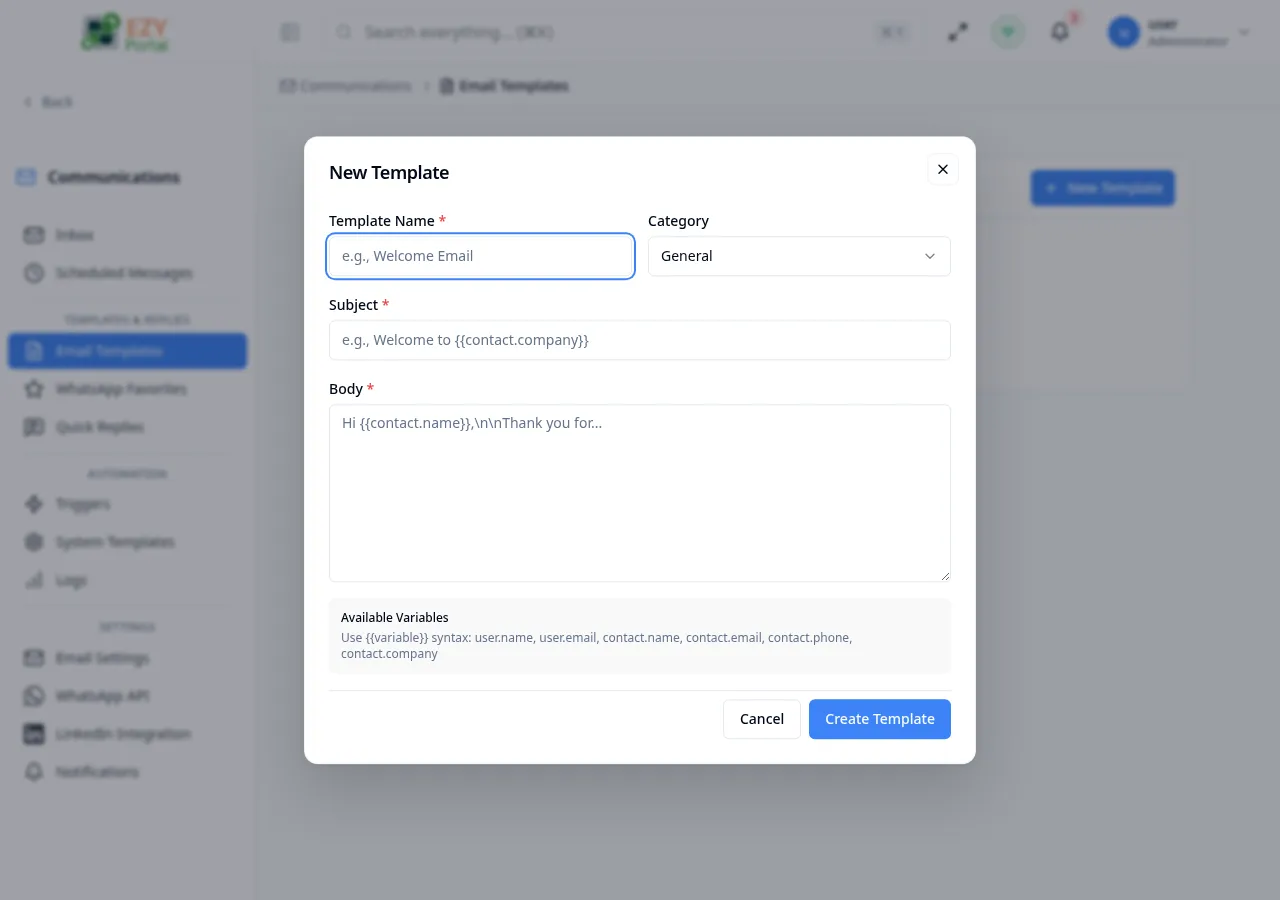
- Click New Template to open the template dialog.
- Enter a name, choose a category, write the subject and body using
{{variable}}syntax. - Click Create Template to save.
- Assign the template to an automation trigger or select it while composing an email.
- Templates support variable substitution using double-brace syntax:
{{contact.name}},{{contact.email}},{{contact.company}},{{user.name}},{{user.email}}. - The system automatically detects and records which variables are used in a template’s subject and body (
usedVariables). - A usage counter tracks how many times each template has been sent, visible in the template card.
- Templates created here are distinct from System Templates, which are managed on the System Templates page.
- The template editor’s Preview panel renders inline images, embedded logos and data-URI attachments inline so authors see what the recipient will see. The same renderer powers the View Email drawer on the Email Outbox.
Creating an Email Template
Section titled “Creating an Email Template”Click New Template in the section header to open the template dialog.
Fields
Section titled “Fields”| Field | Required | Type | Description | Default | Validation |
|---|---|---|---|---|---|
| Template Name | Yes | Text | Friendly name to identify the template | — | Required; shown in template lists |
| Category | No | Select | Organizes templates by purpose | General | Options: General, Sales, Support, Custom |
| Subject | Yes | Text | Email subject line; supports {{variable}} syntax | — | Required |
| Body | Yes | Textarea | Email body content; supports {{variable}} syntax | — | Required |
Steps:
- Click New Template.
- Enter a Template Name (for example, “Welcome Email”).
- Select a Category to group the template.
- Enter the Subject; use
{{contact.company}}or similar placeholders for dynamic content. - Write the Body with your message text and variable placeholders.
- Click Create Template. The dialog closes and the new template appears in the list.
Editing an Email Template
Section titled “Editing an Email Template”Click the pencil icon on any template card to open the edit dialog pre-filled with existing values.
Screenshot pending: Edit Email Template dialog pre-filled with existing template data
Same fields as Creating. All fields are editable after creation.
Steps:
- Locate the template in the list.
- Click the pencil (edit) icon on the right of the template card.
- Update the fields as needed.
- Click Save Changes.
Deleting an Email Template
Section titled “Deleting an Email Template”Click the trash icon on any template card to delete it.
Screenshot pending: Delete confirmation dialog for an email template
- Click the trash icon on the template card.
- A confirmation dialog appears: “Are you sure you want to delete this template? This cannot be undone.”
- Click Delete to confirm. The template is permanently removed.
Note: Deleting a template that is referenced by an active automation trigger may cause that trigger to fail. Review your automation triggers before deleting.
Related Pages
Section titled “Related Pages”- Automation — assign templates to automation triggers
- System Templates — view and customize platform-defined email templates
- Email Settings — configure the SMTP servers that deliver your email